Netlify Webpackerror: Typeerror: Cannot Read Property 'node' of Undefined
In this tutorial, you lot'll learn how to use Gatsby to create a blog app that integrates with the Netlify content management system (CMS) for content. Your app will permit you to author posts in Markdown and add together or edit posts from your browser or Git. Equally a last step, you'll secure a section of your app with Okta.
Showtime, let'due south take a step back. What is Gatsby? Gatsby is a tool for creating static websites with React. With Gatsby, y'all can pull data from CMSs, Markdown files, APIs, databases, and more than. Gatsby uses GraphQL and webpack to combine your data and React code to generate static files for your website.
Another slice of the puzzle here is the JAMstack. Y'all can deliver JAM—JavaScript, APIs, and Markup—apps by pre-rendering files and serving them directly from a CDN, and so you don't have to manage or run web servers.
And as i final point of explanation before we get started, Netlify, which we'll integrate with for content, is a hosting company for static sites that offers continuous integrations, HTML forms, AWS Lambda functions, and, (near relevant for us) content management.
Before you begin, there'due south a few things y'all'll need:
- Node 12+ installed
- A GitHub Account
- A Netlify Account
- An Okta Developer Account
If yous'd adopt to picket a video, you lot can sentry this tutorial as a screencast.
Install Gatsby CLI
To create a Gatsby site, you'll need to install the Gatsby CLI. This tool gets you lot up and running with a Gatsby app in no time. Information technology also runs a development server and builds your Gatsby application for production.
npm install -g gatsby-cli Create a New Project with Gatsby
Run gatsby new to create an app using Gatsby'south How-do-you-do World starter:
gatsby new gatsby-netlify-okta gatsbyjs/gatsby-starter-hello-globe If prompted to choose between yarn and npm, choose npm. This process creates a directory layout, adds a bundle.json with dependencies, and prints out instructions to go on.
Your new Gatsby site has been successfully bootstrapped. Start developing it by running: cd gatsby-netlify-okta gatsby develop NOTE: You can also use npm start every bit an alias for gatsby develop. I use npm get-go to practise the default tasks on nearly of my Node projects. I love this attention to item from the Gatsby developers! ❤️
You can utilize the tree control to view your new project's directory structure.
$ cd gatsby-netlify-okta $ tree -I node_modules . ├── LICENSE ├── README.physician ├── gatsby-config.js ├── bundle-lock.json ├── bundle.json ├── src │ └── pages │ └── index.js └── static └── favicon.ico Run npm start and bank check out your "How-do-you-do World" app at http://localhost:8000.
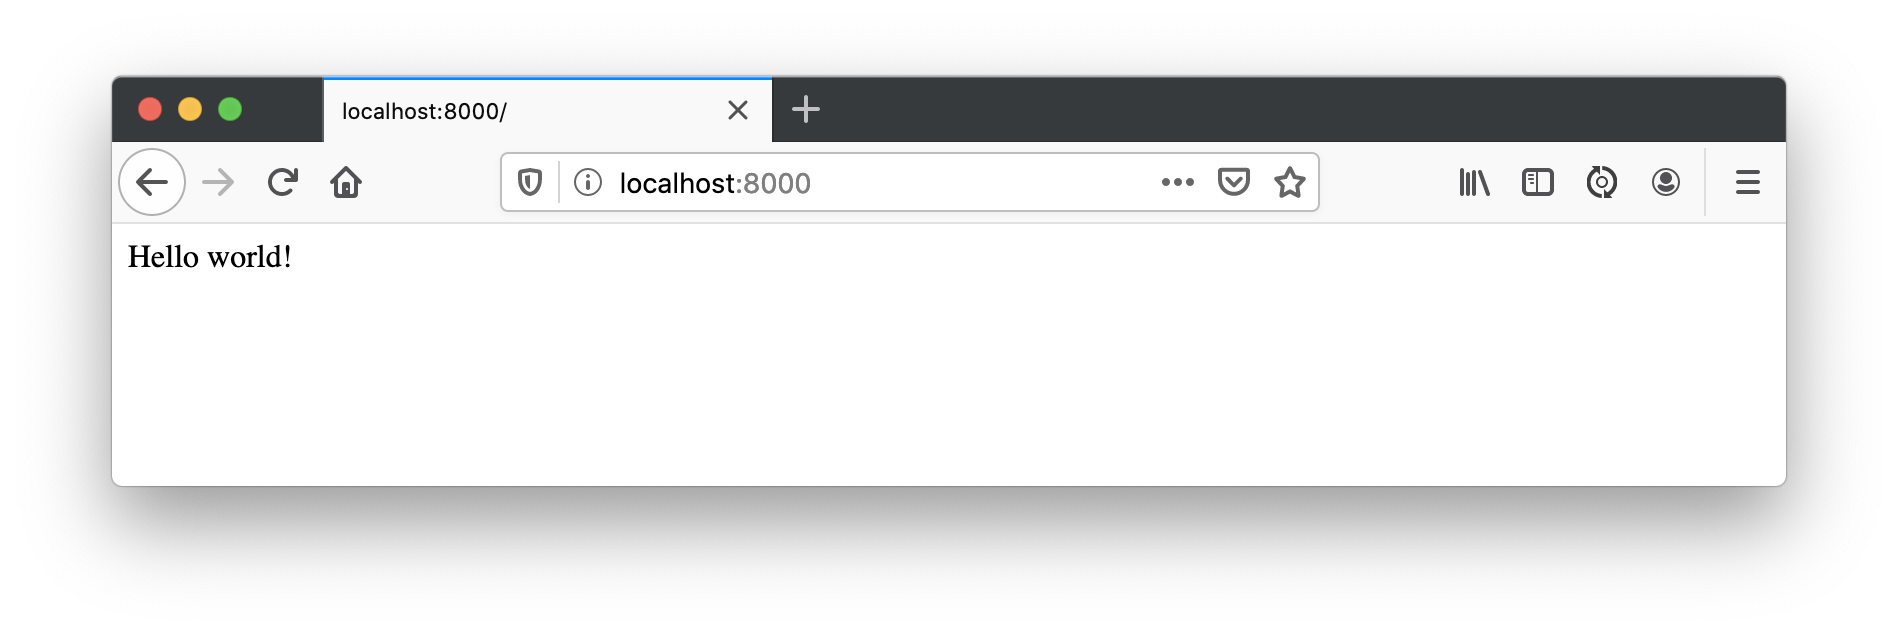
At present let's move on to adding a neat feature, sourcing content from Netlify CMS!
Add Netlify CMS for Content Management
Netlify CMS is a single-page React app besides! Its features include custom-styled previews, UI widgets, editor plugins, and backends to support different Git platform APIs.
You tin can install Netlify CMS and the Gatsby plugin for it using npm:
npm i netlify-cms-app@two.11.20 gatsby-plugin-netlify-cms@iv.1.xl In gatsby-config.js, register the Netlify CMS plugin:
module.exports = { plugins: [`gatsby-plugin-netlify-cms`], } Then create a static/admin directory and a config.yml file in it.
.static/admin/config.yml
backend: proper noun: exam-repo media_folder: static/assets public_folder: assets collections: - name: blog label: Blog folder: web log create: true fields: - { name: path, label: Path } - { proper name: date, characterization: Date, widget: datetime } - { proper noun: title, characterization: Title } - { name: body, label: Body, widget: markdown } Restart your app using Ctrl+C and npm start.
You'll now exist able to edit content at http://localhost:8000/admin/.
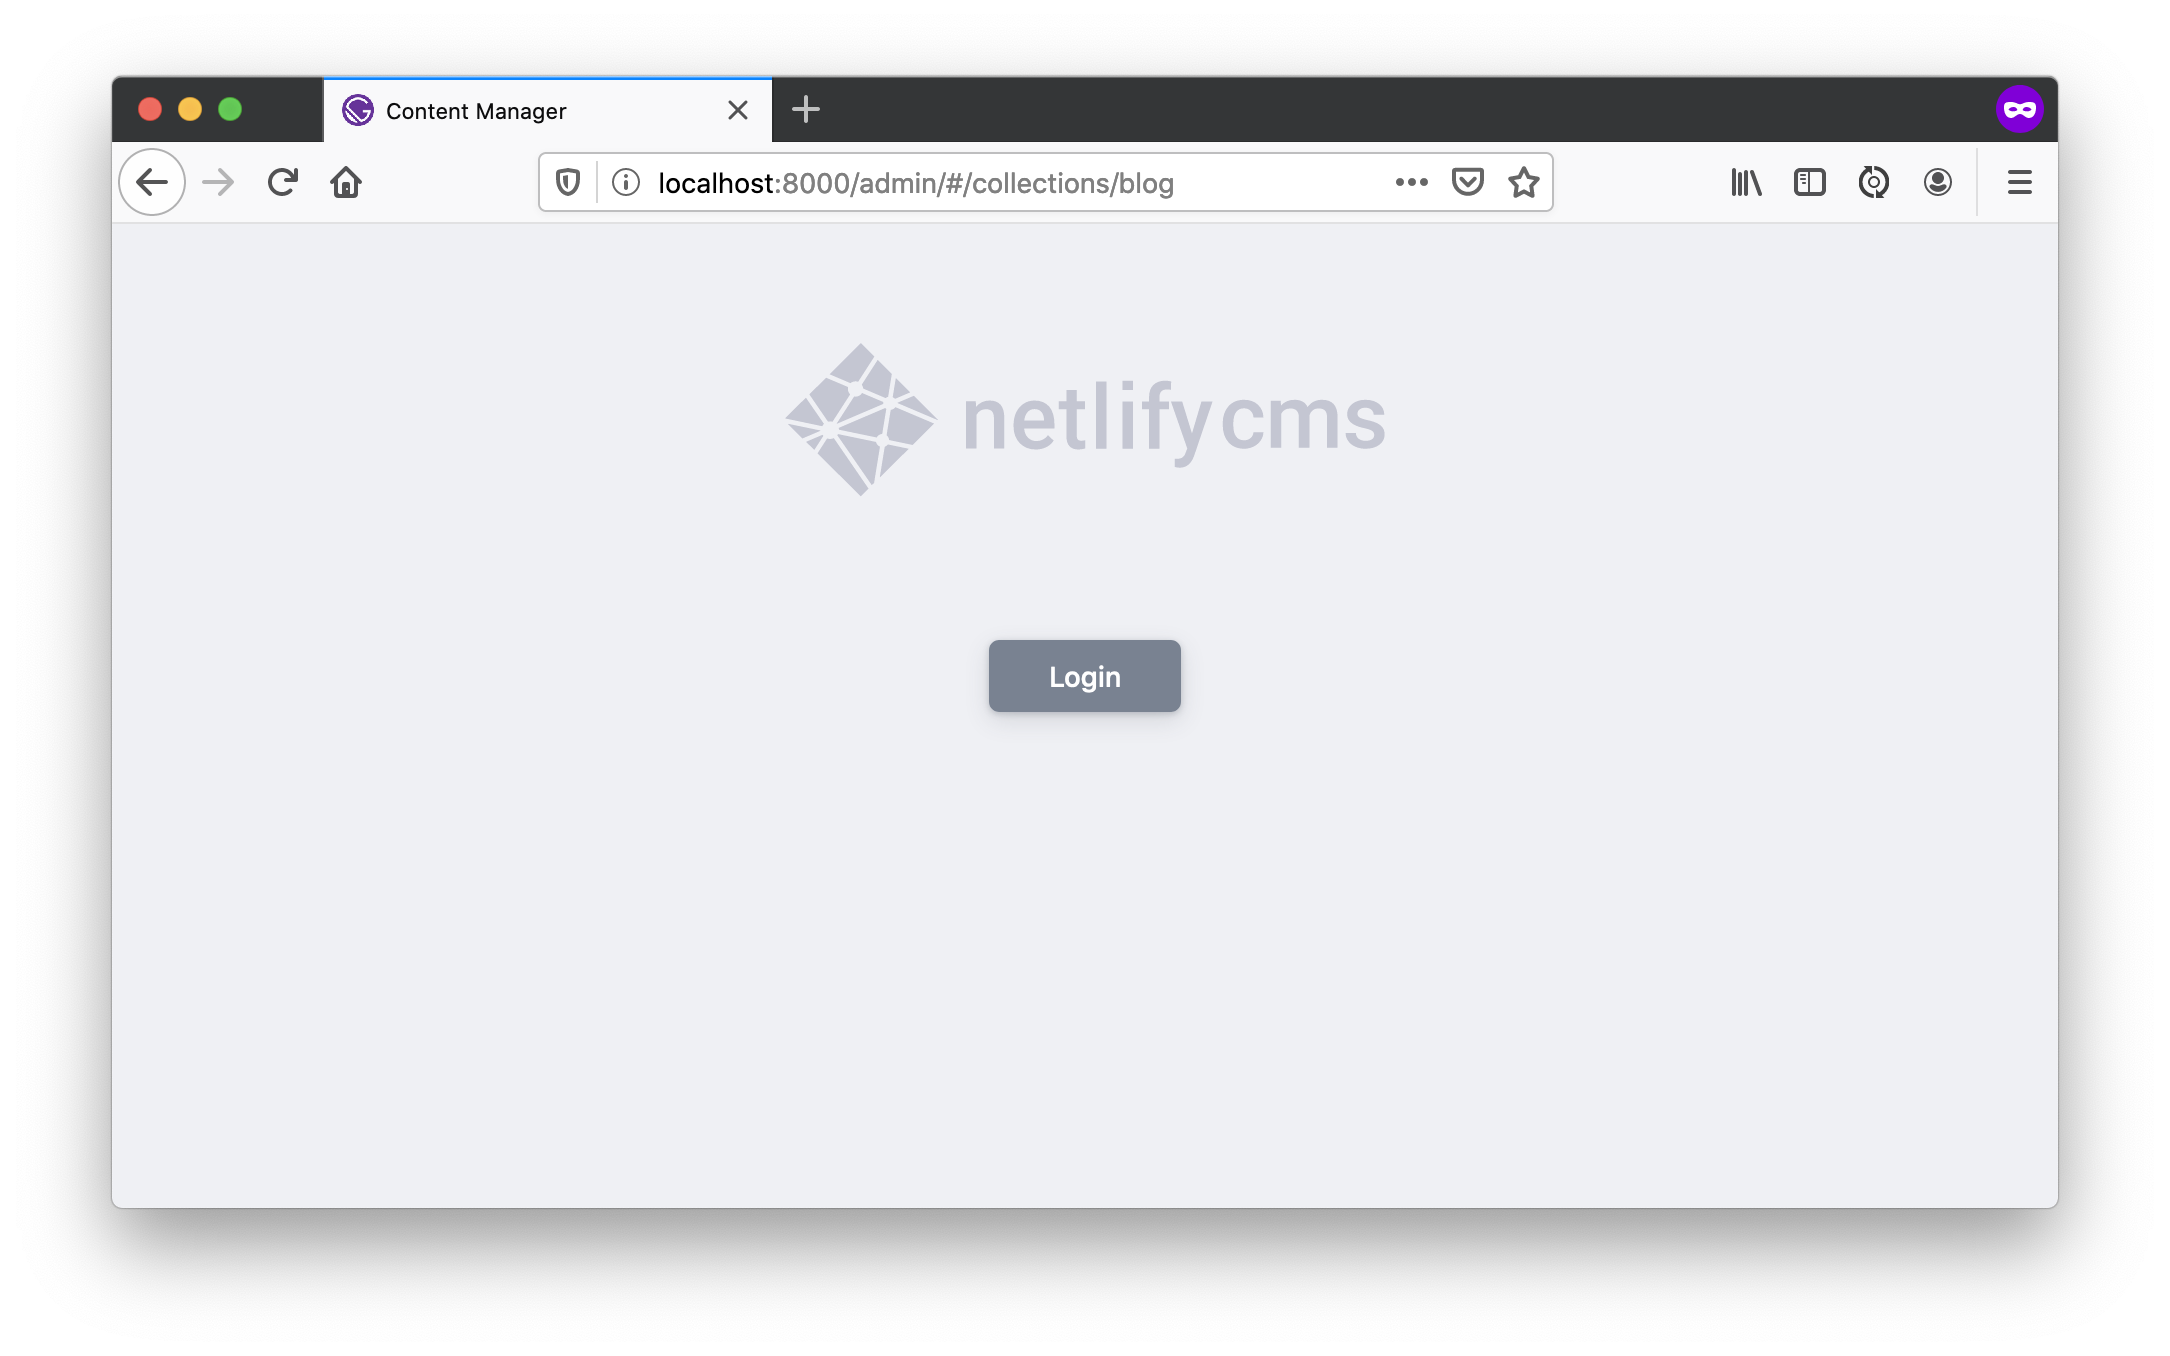
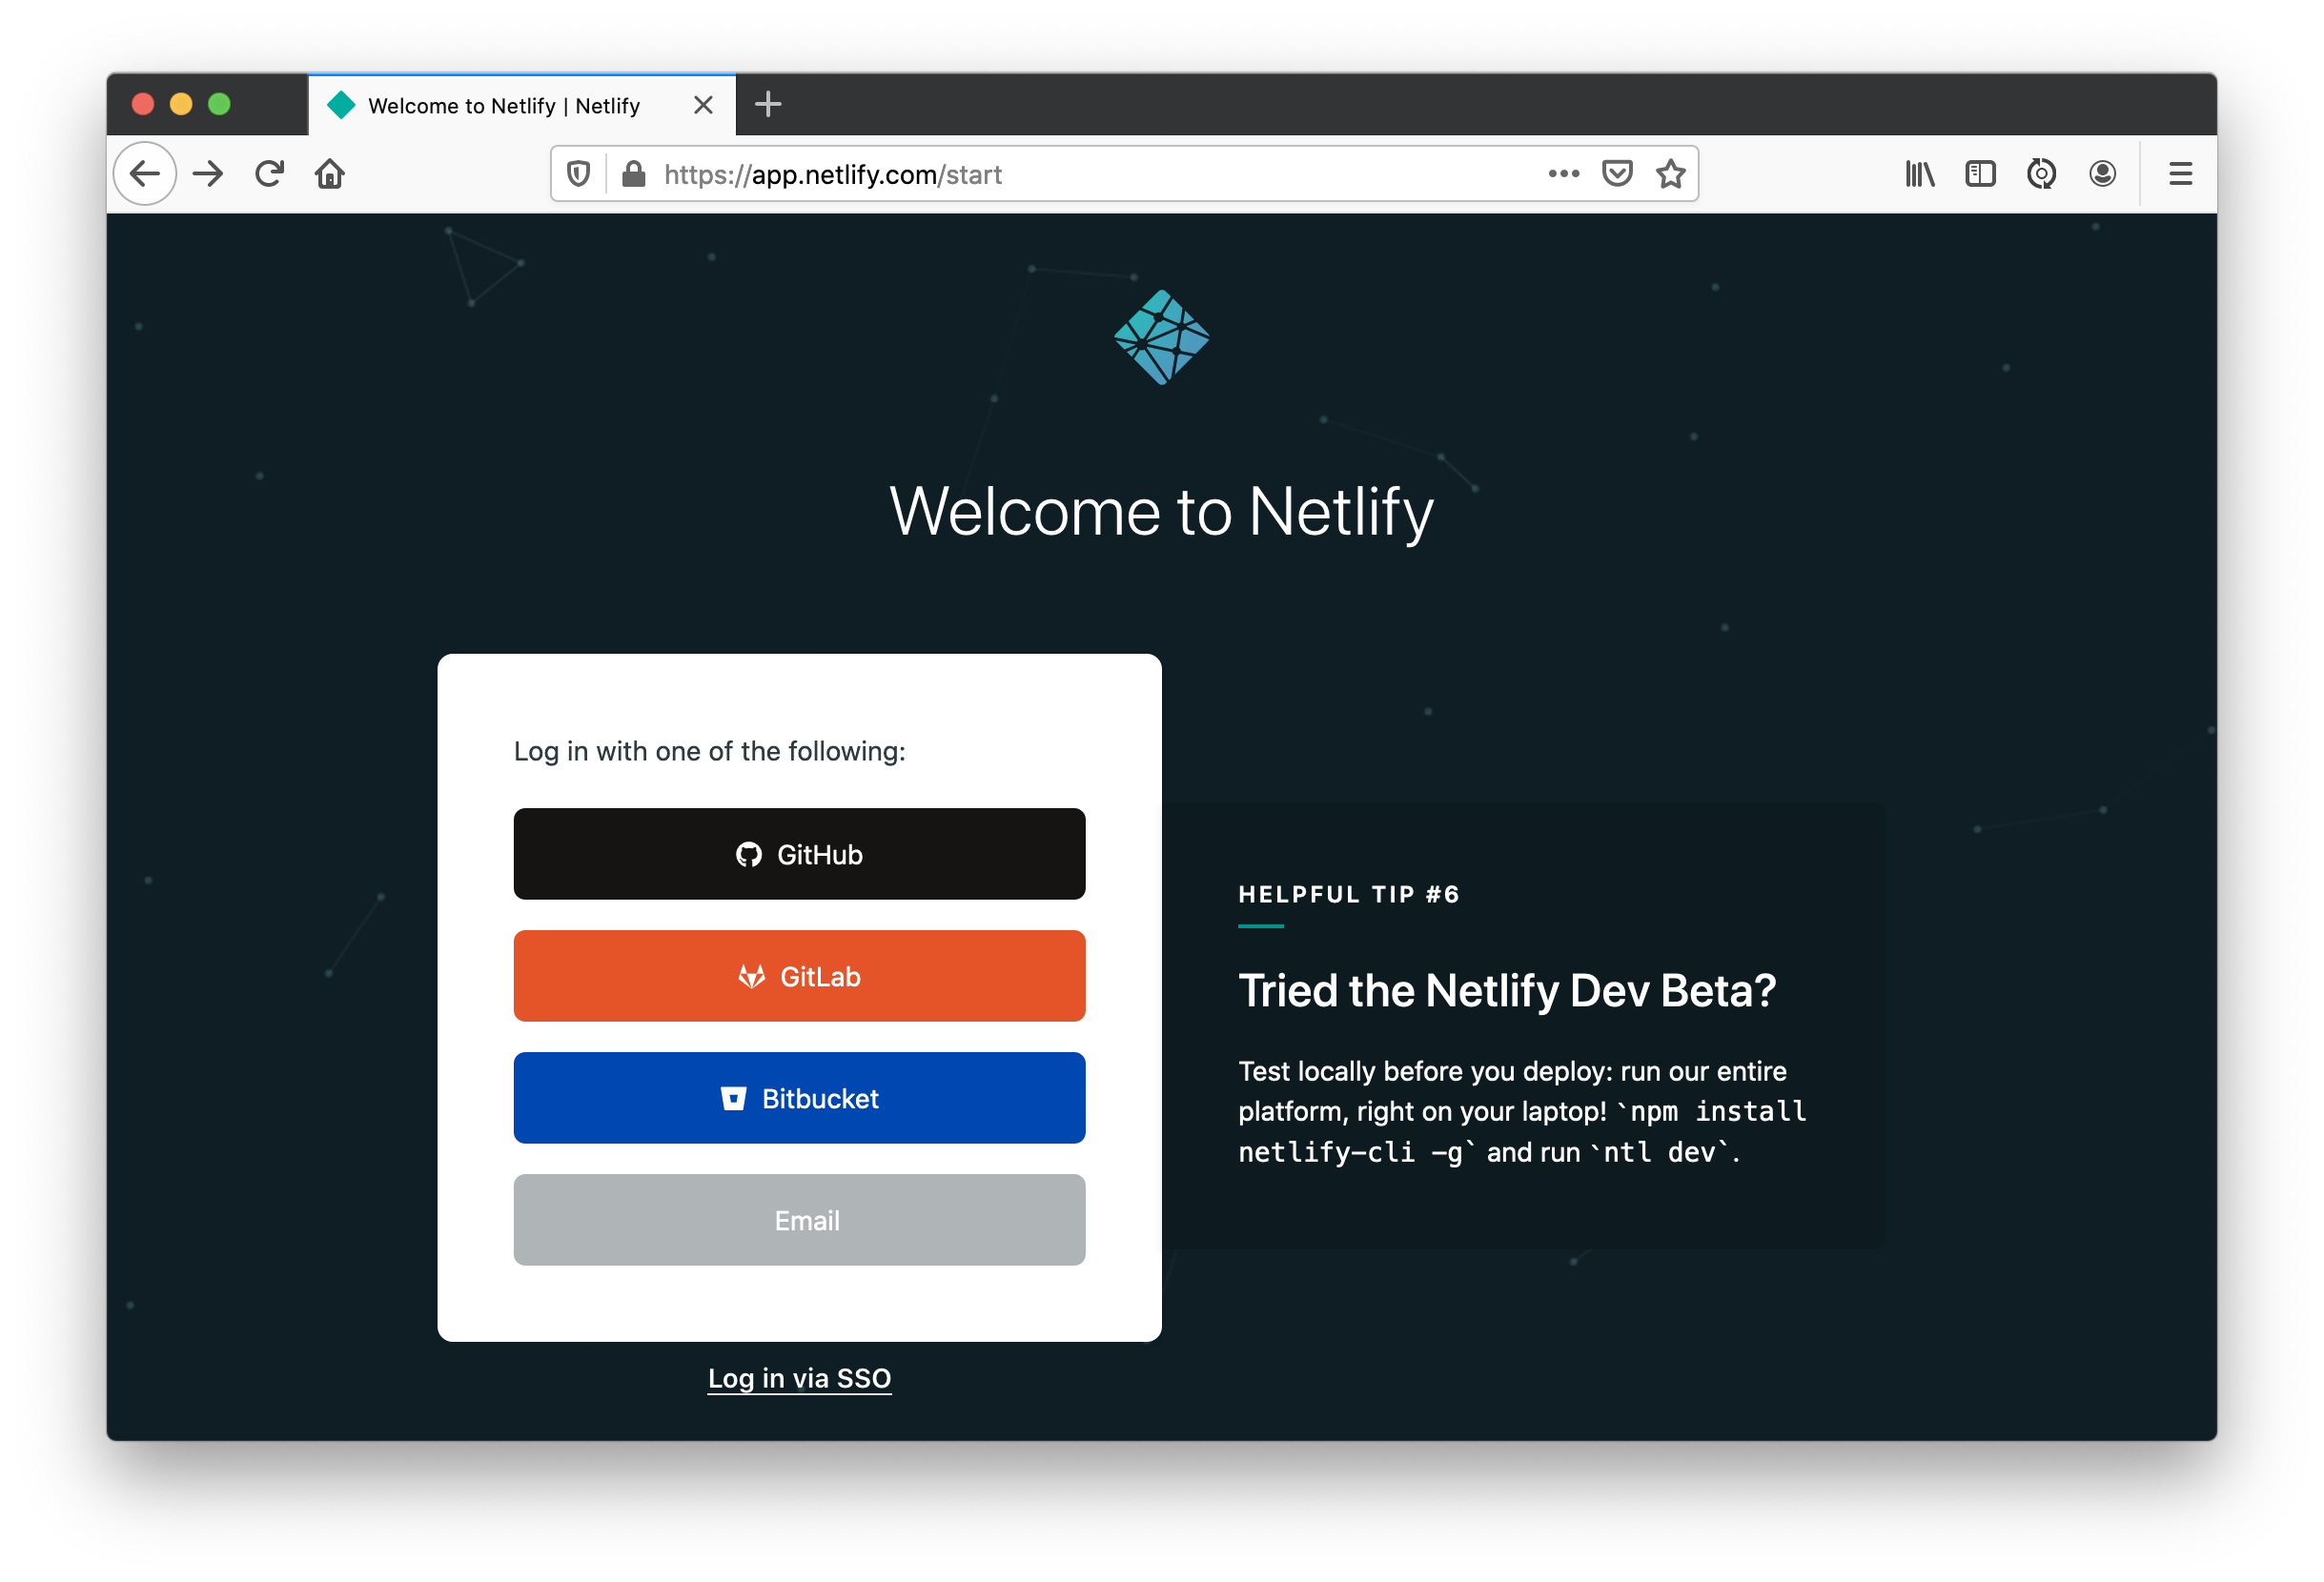
Click the Login push button and y'all'll see the screen beneath.
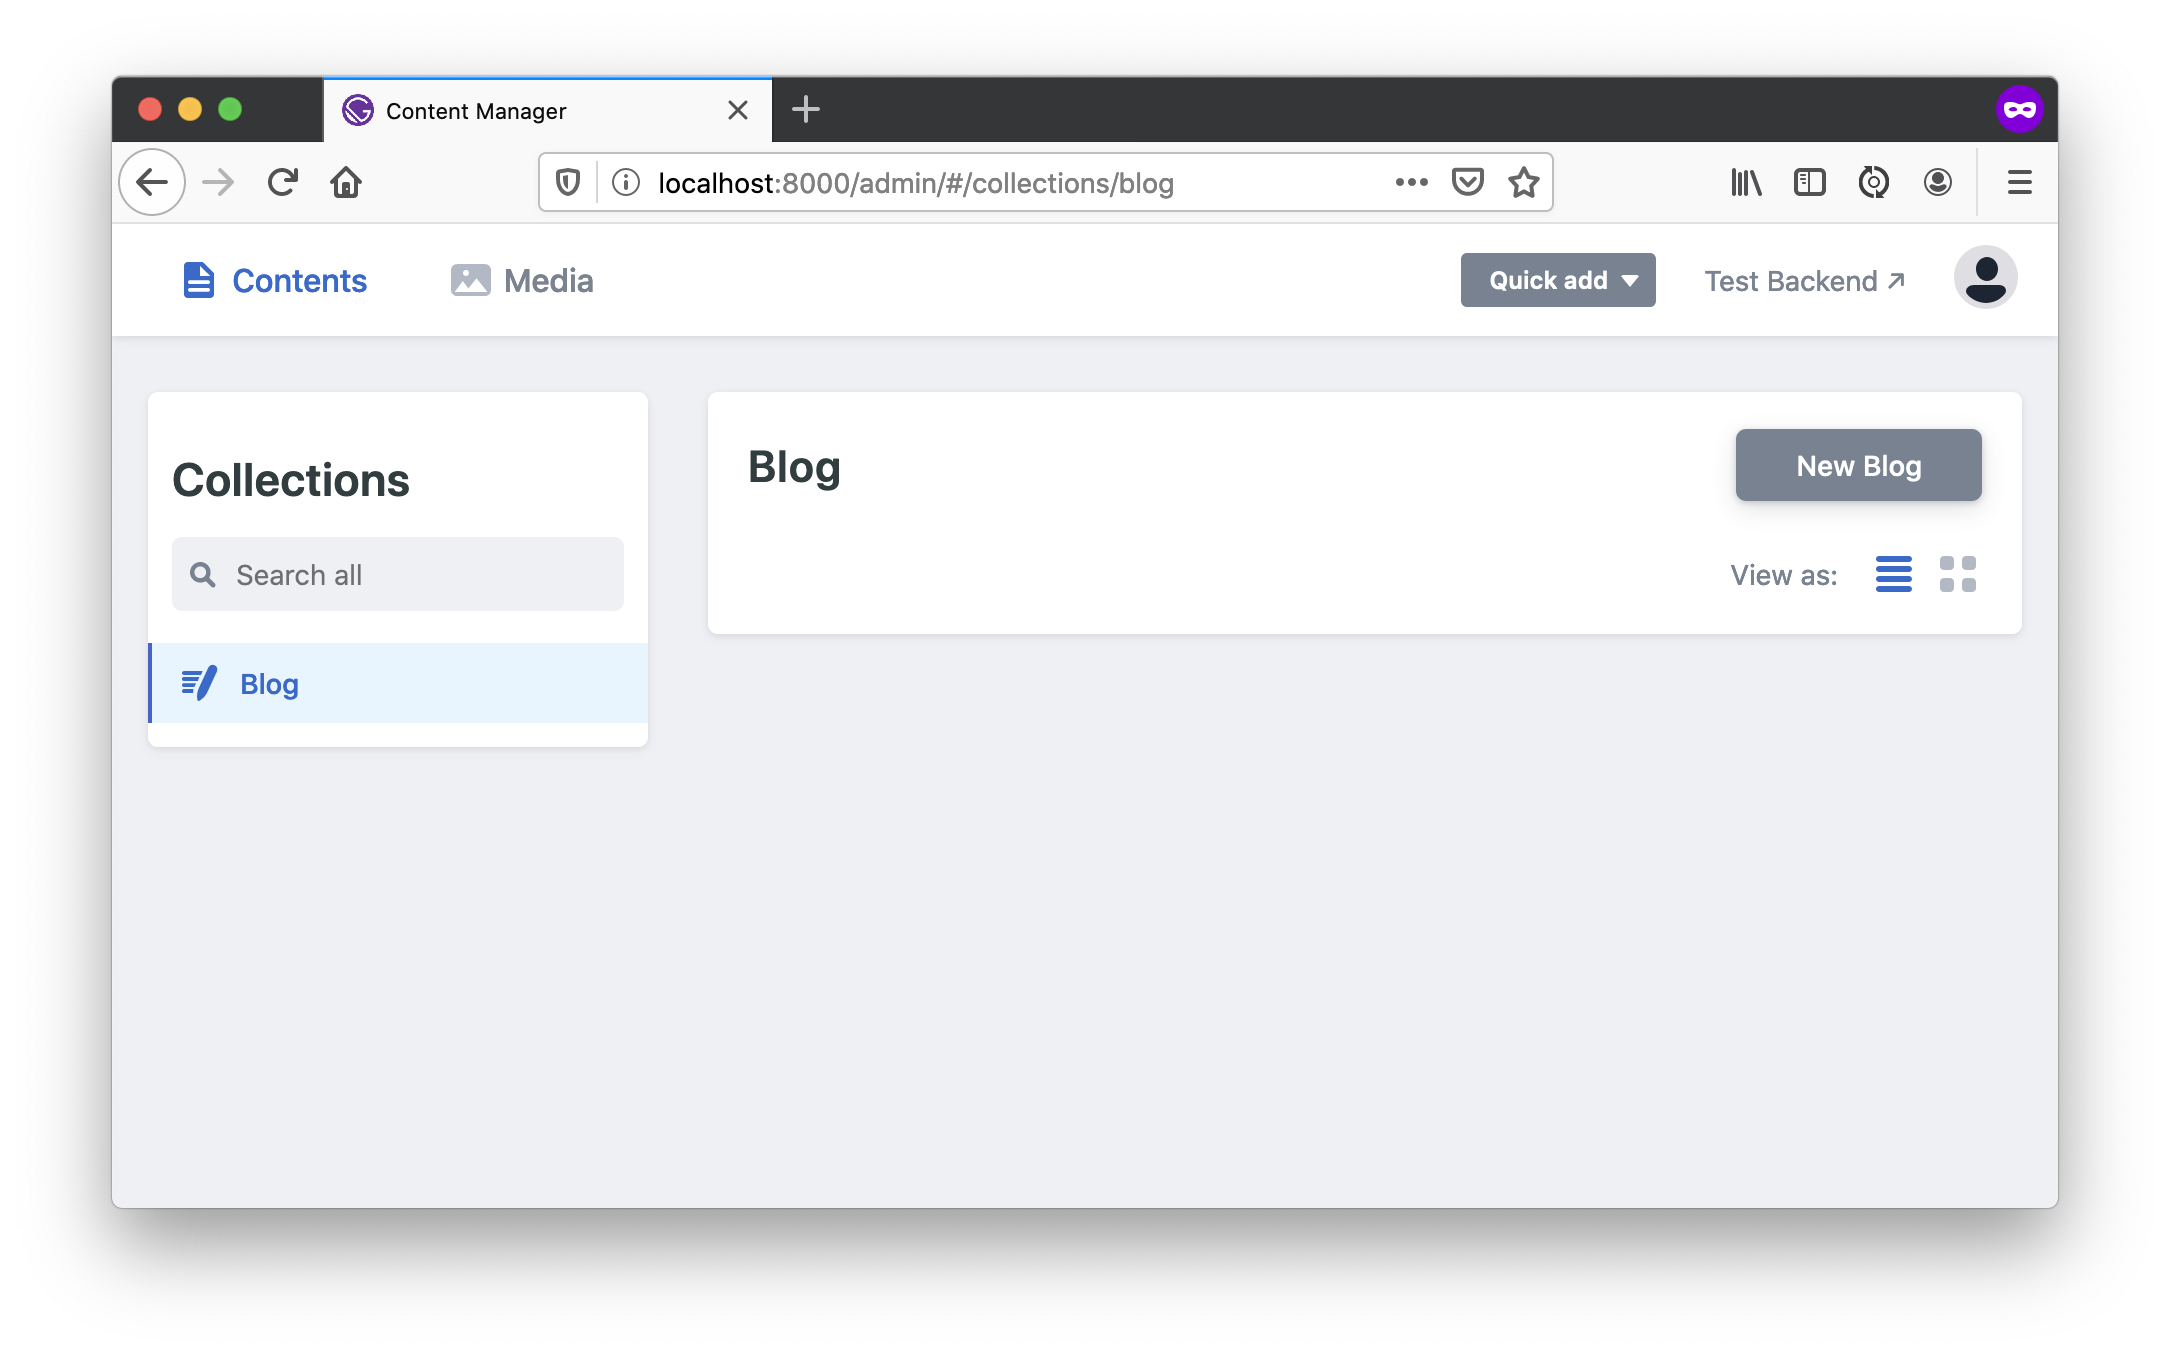
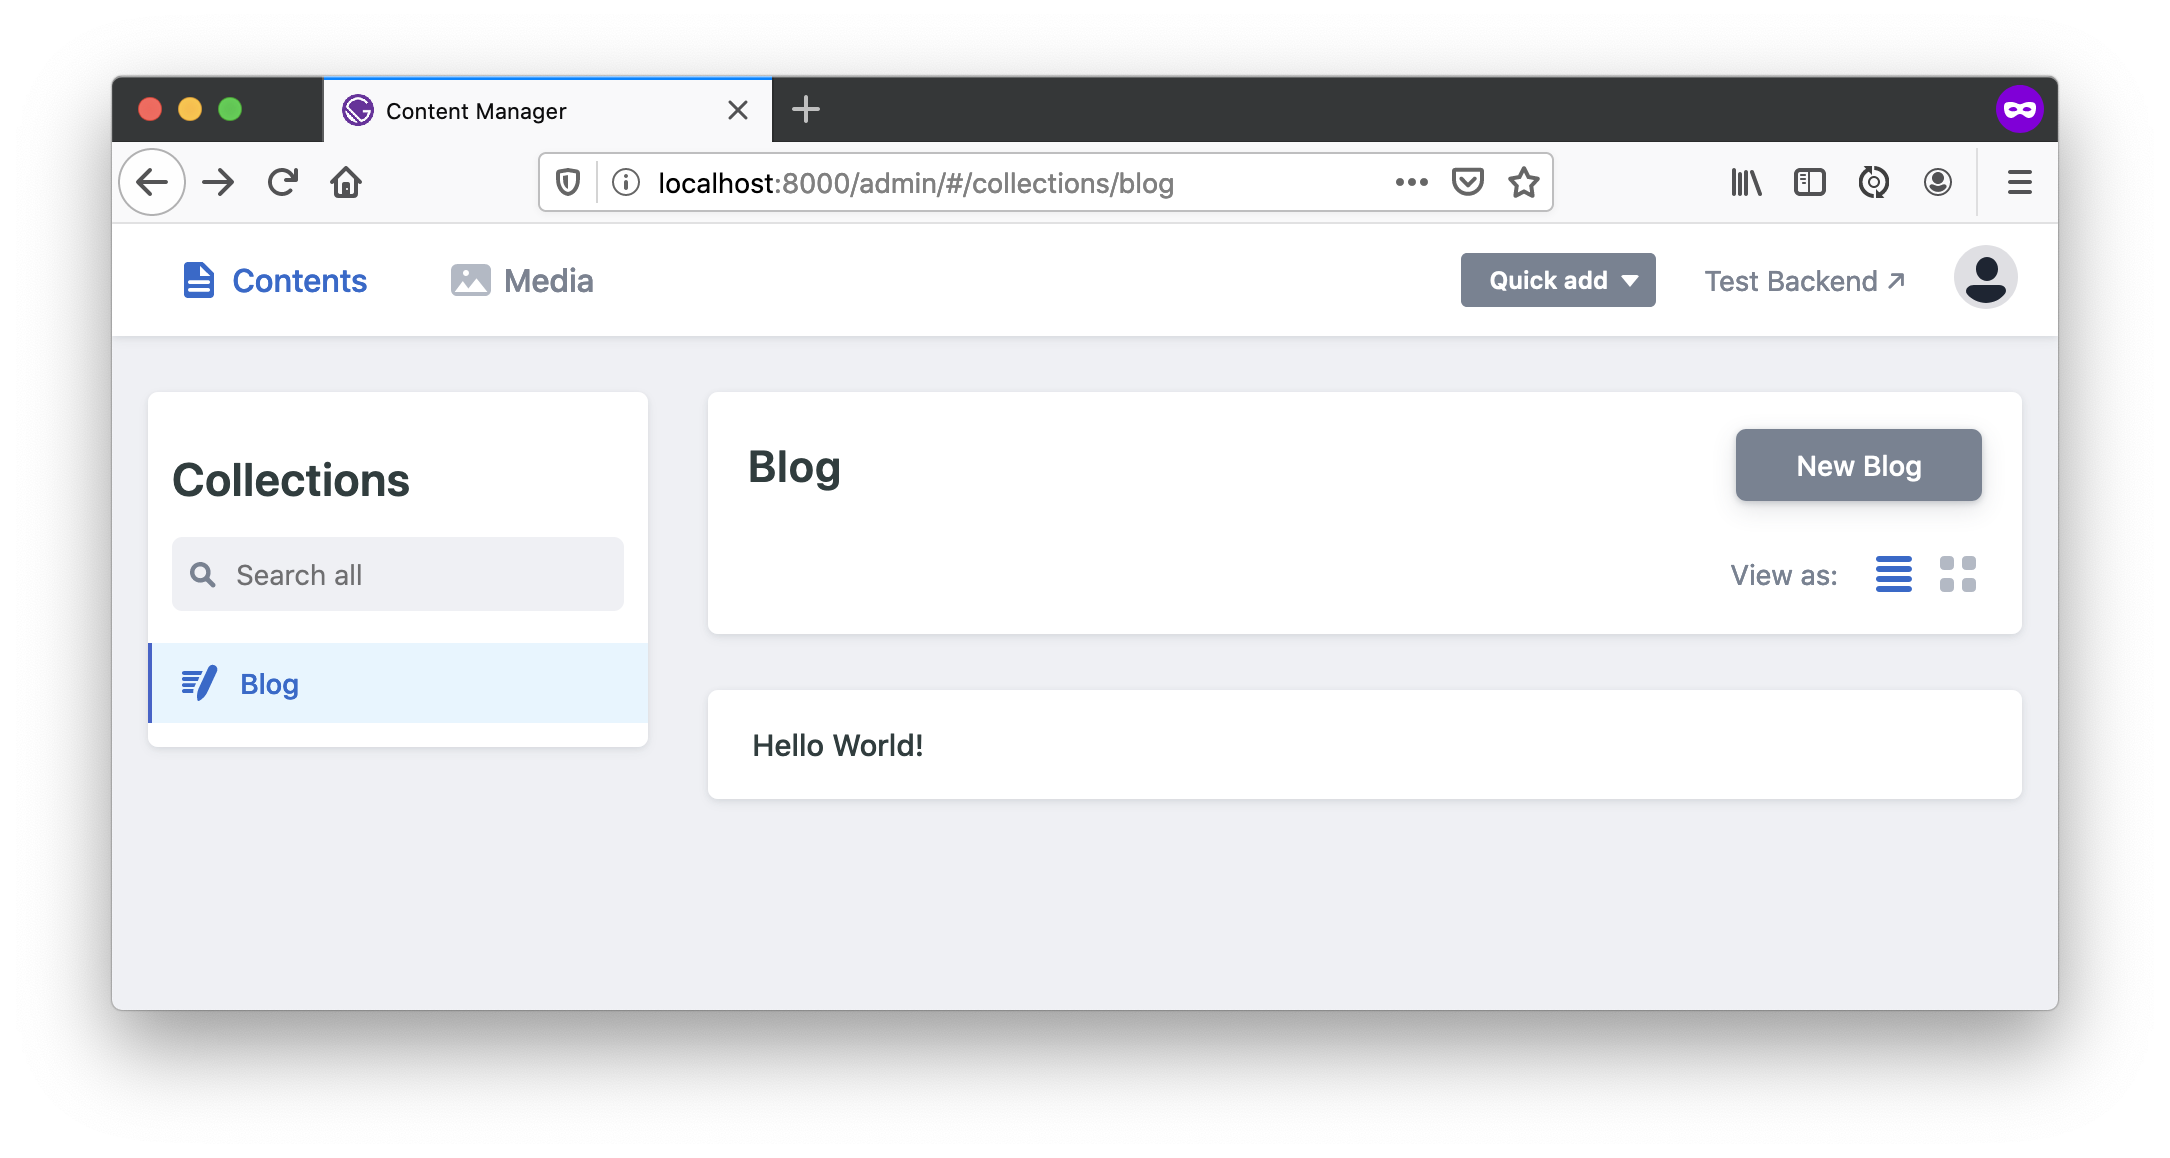
Anybody can log in and everything is in-retentivity at this point. Yous can even add together a new weblog post:
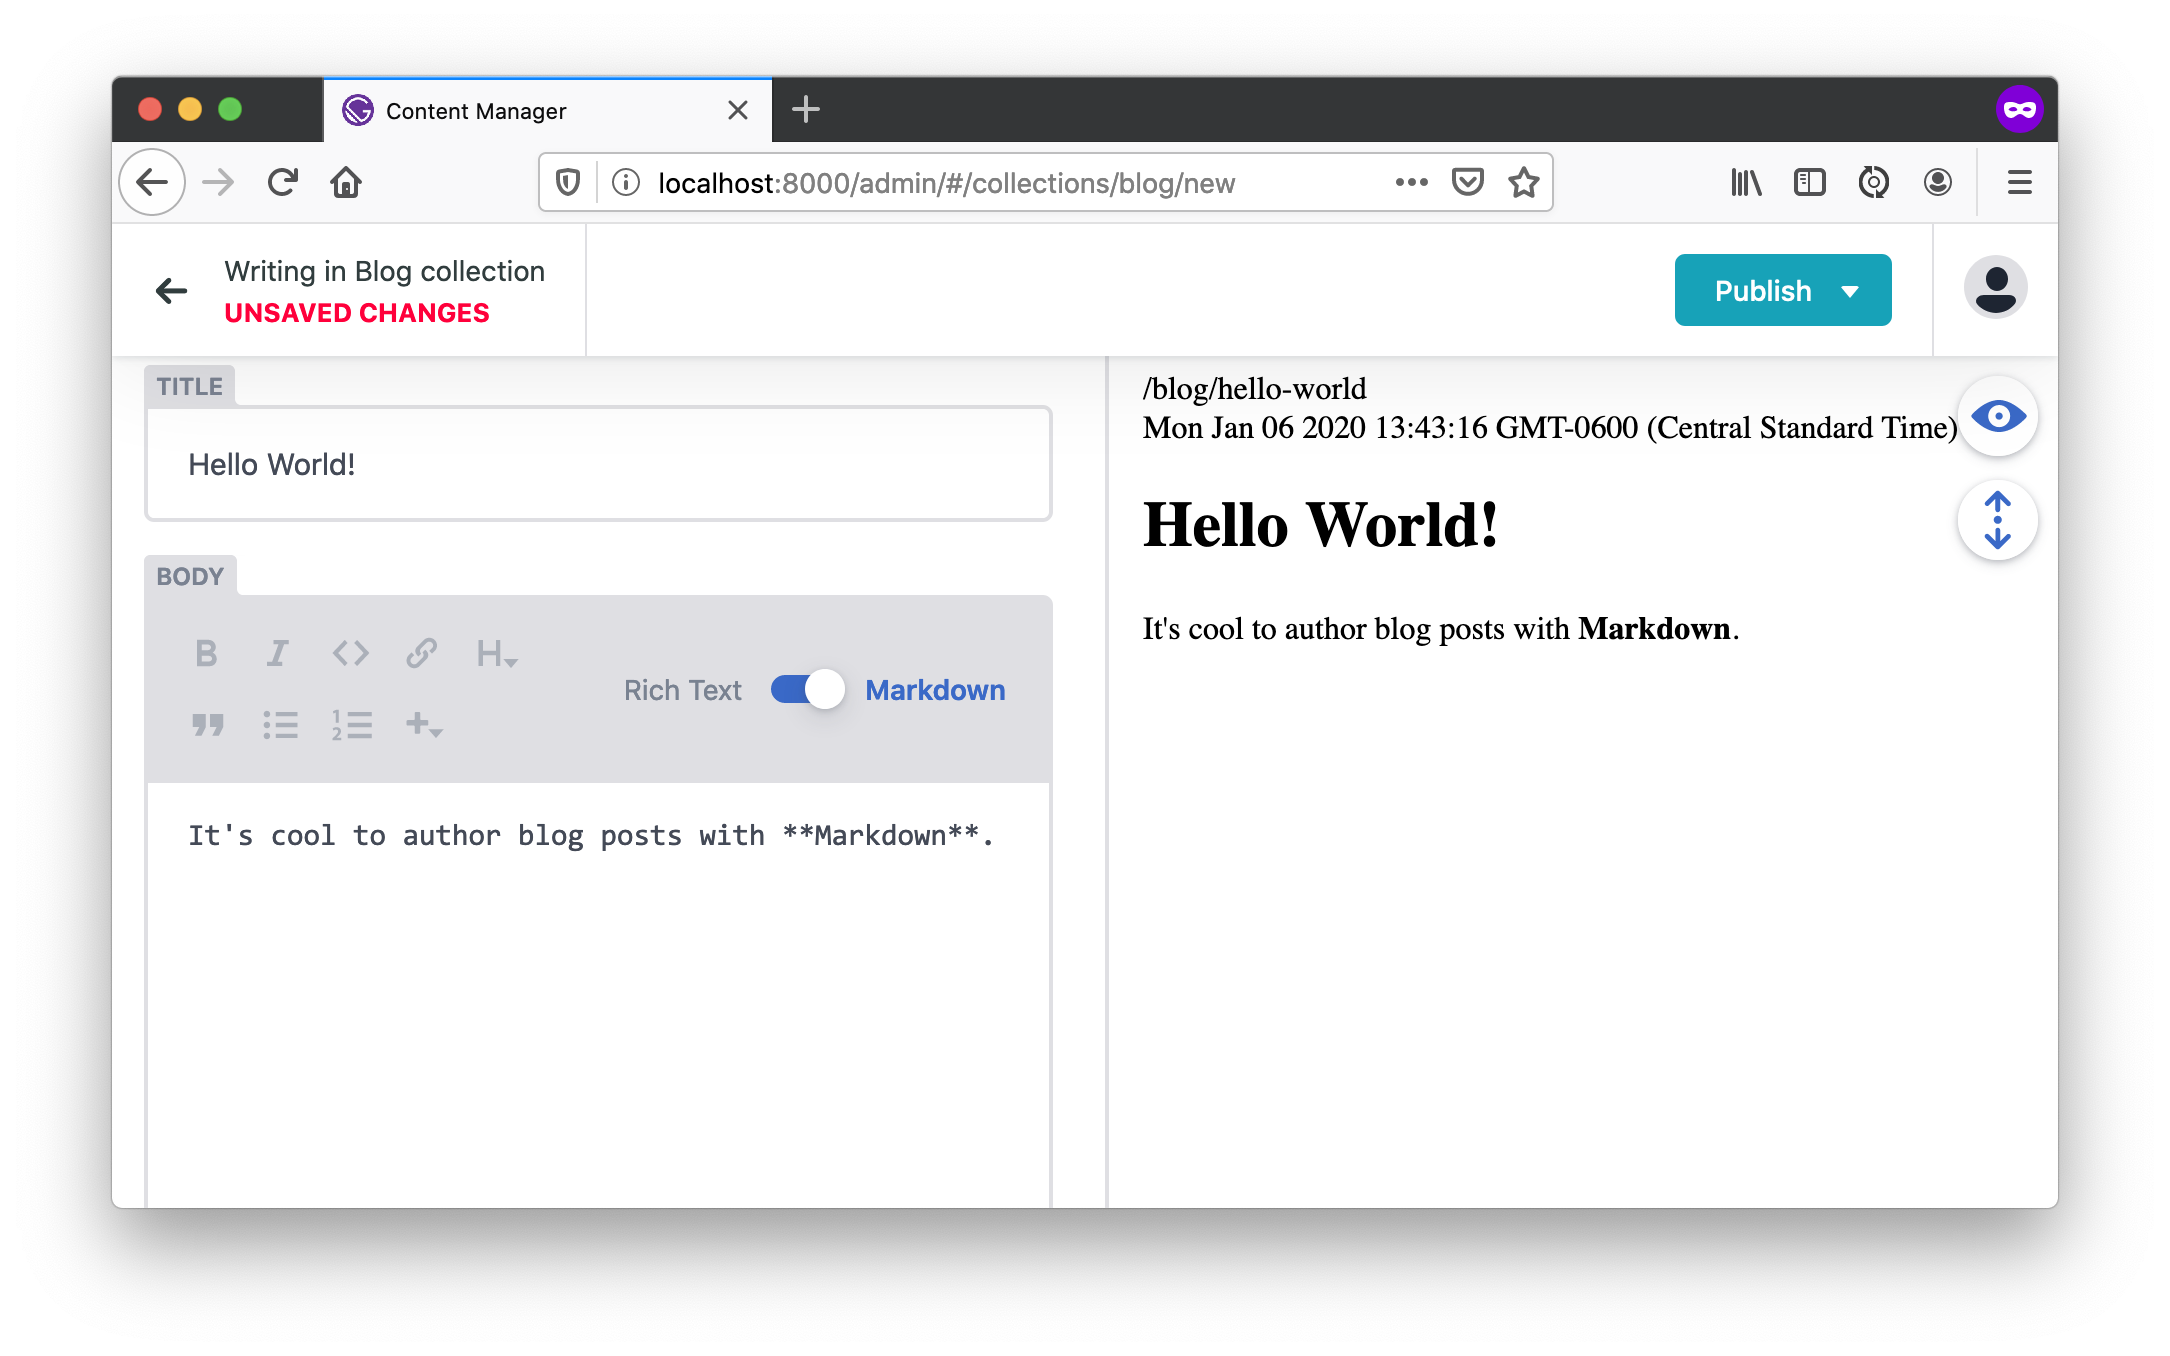
Click Publish and yous're in business!
Unfortunately, you'll lose your post as soon as you restart your evolution server. However, you lot can update Netlify CMS to store files in Git instead!
Integrate Netlify CMS with GitHub for Continuous Deployment
To save to a Git repository, you can create a repo on GitHub, for example, I created i at oktadeveloper/gatsby-netlify-okta-example.
You lot tin add together Git to your Gatsby project using the following commands:
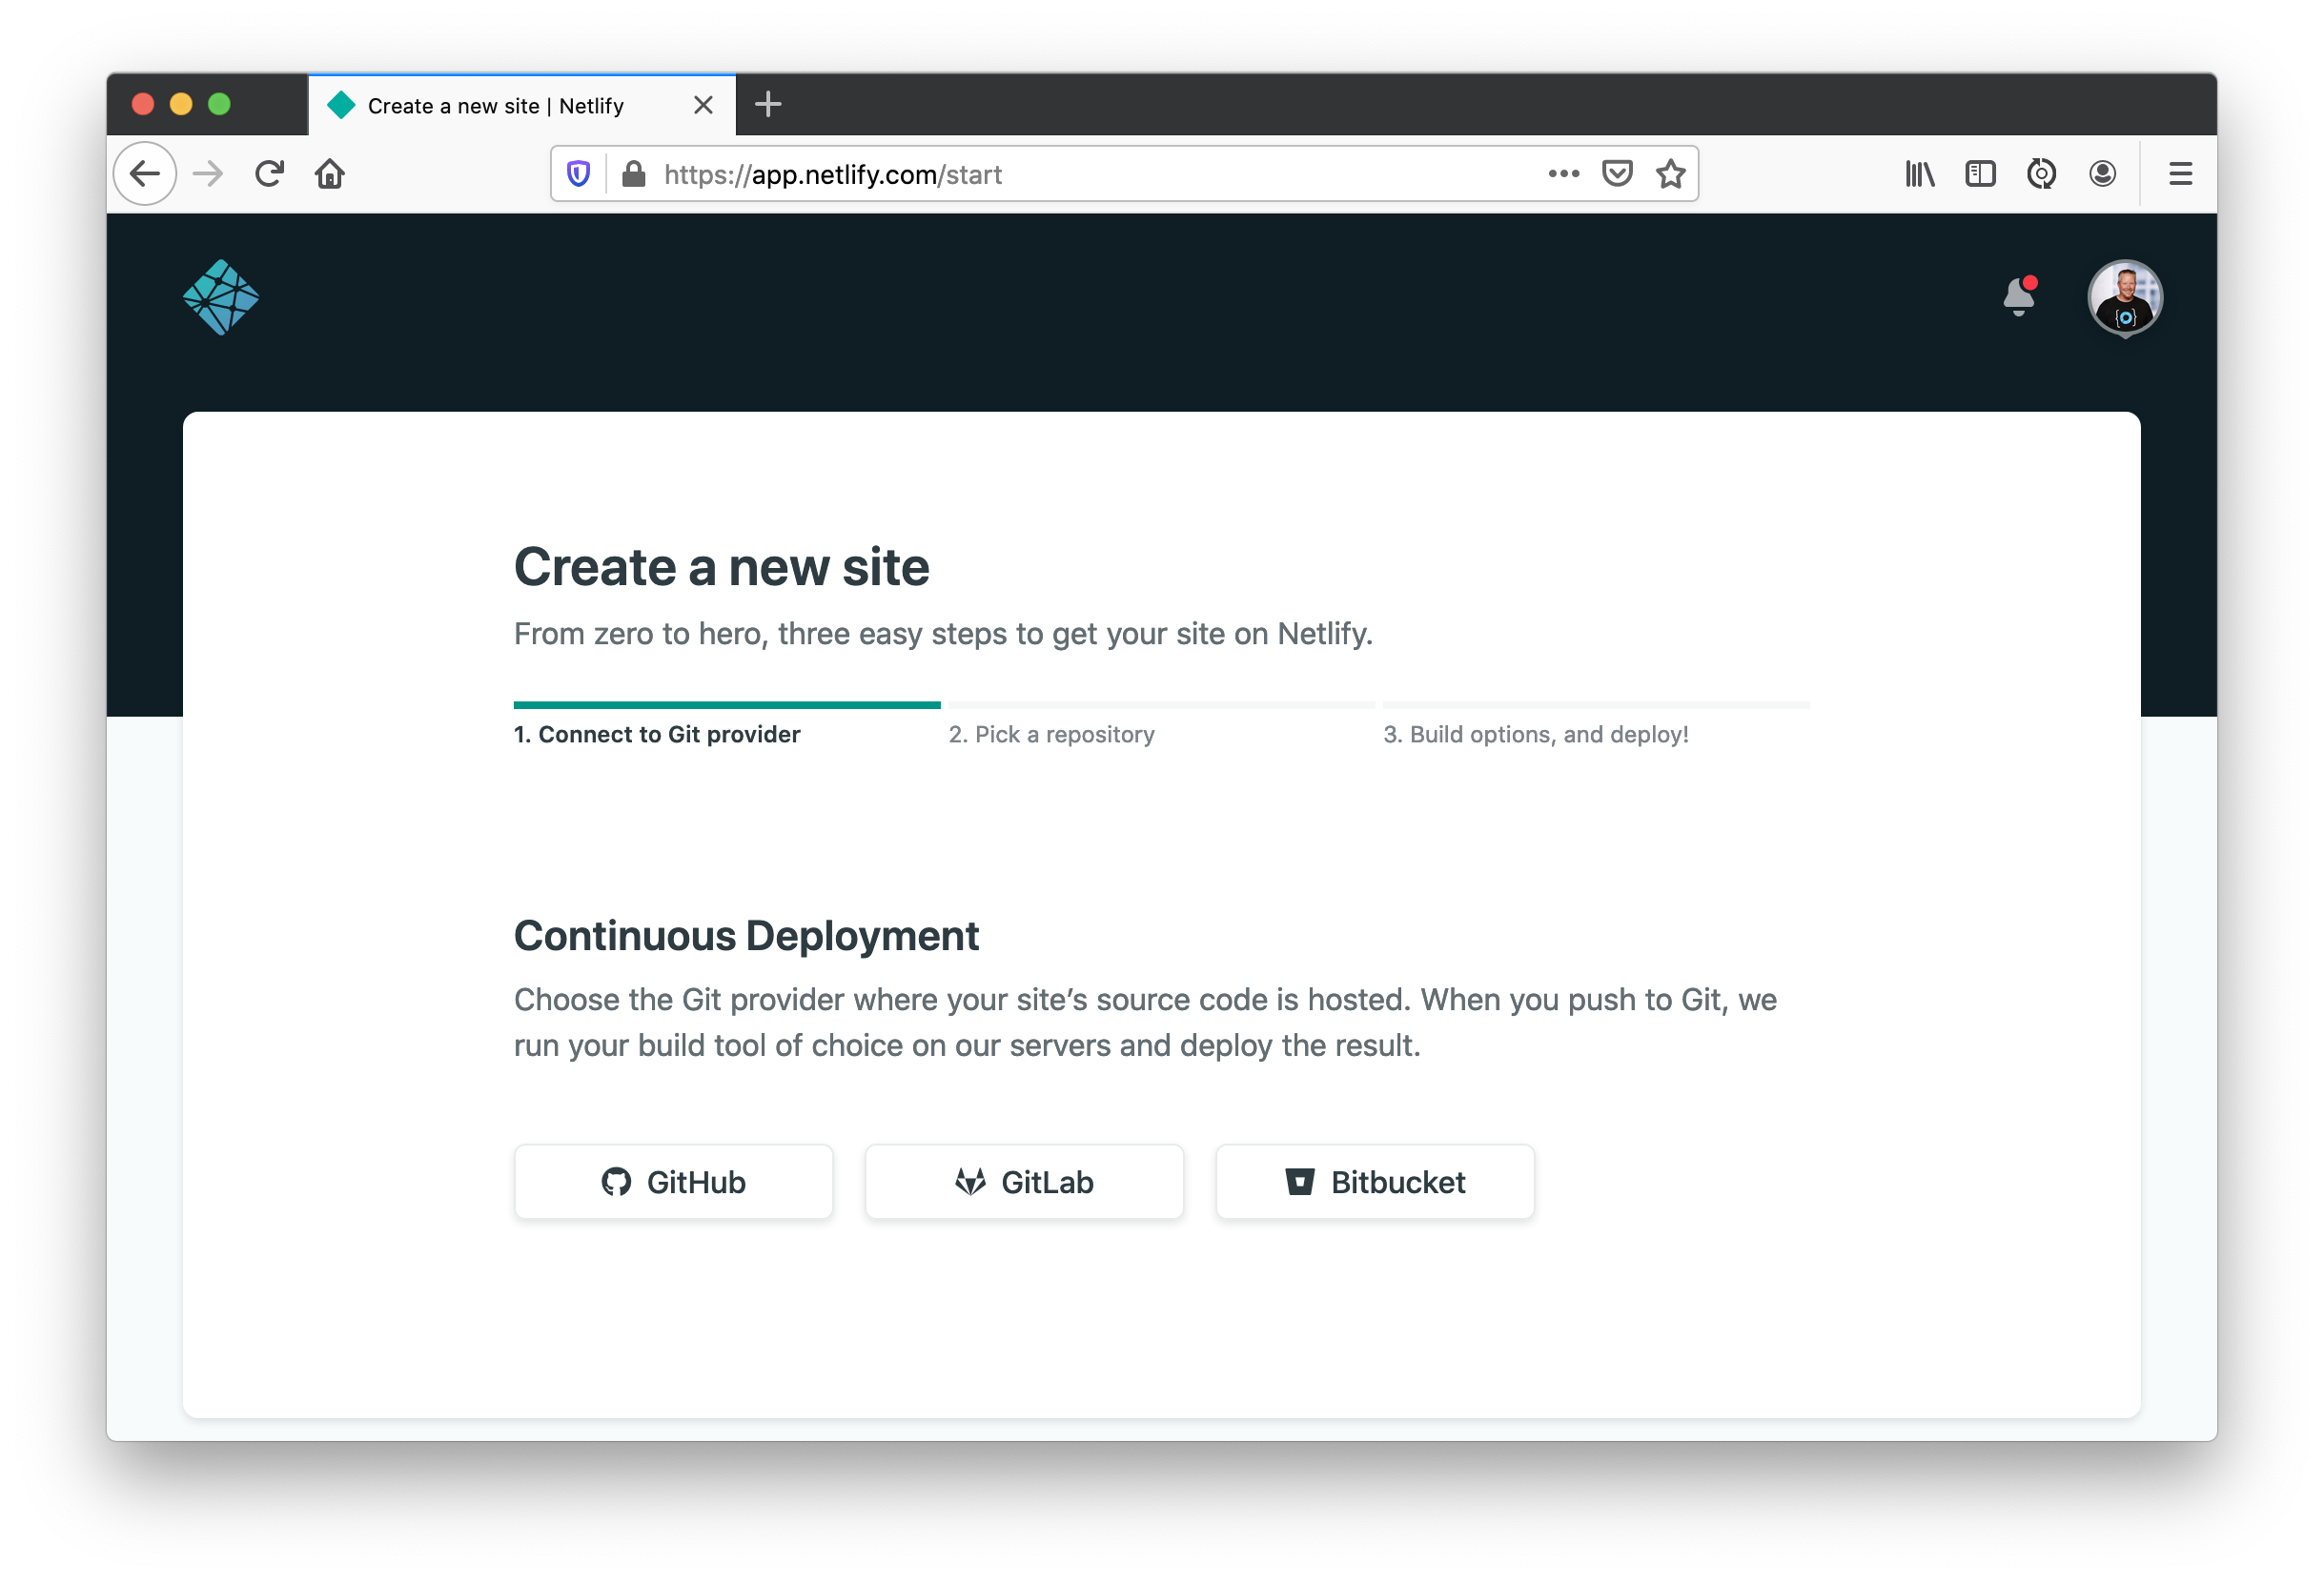
git init git add . git commit -m "Add project to Git" git remote add origin git@github.com:${user}/${repo}.git git push button origin master Now you lot can publish your Gatsby site directly from GitHub using Netlify'southward create a new site page.
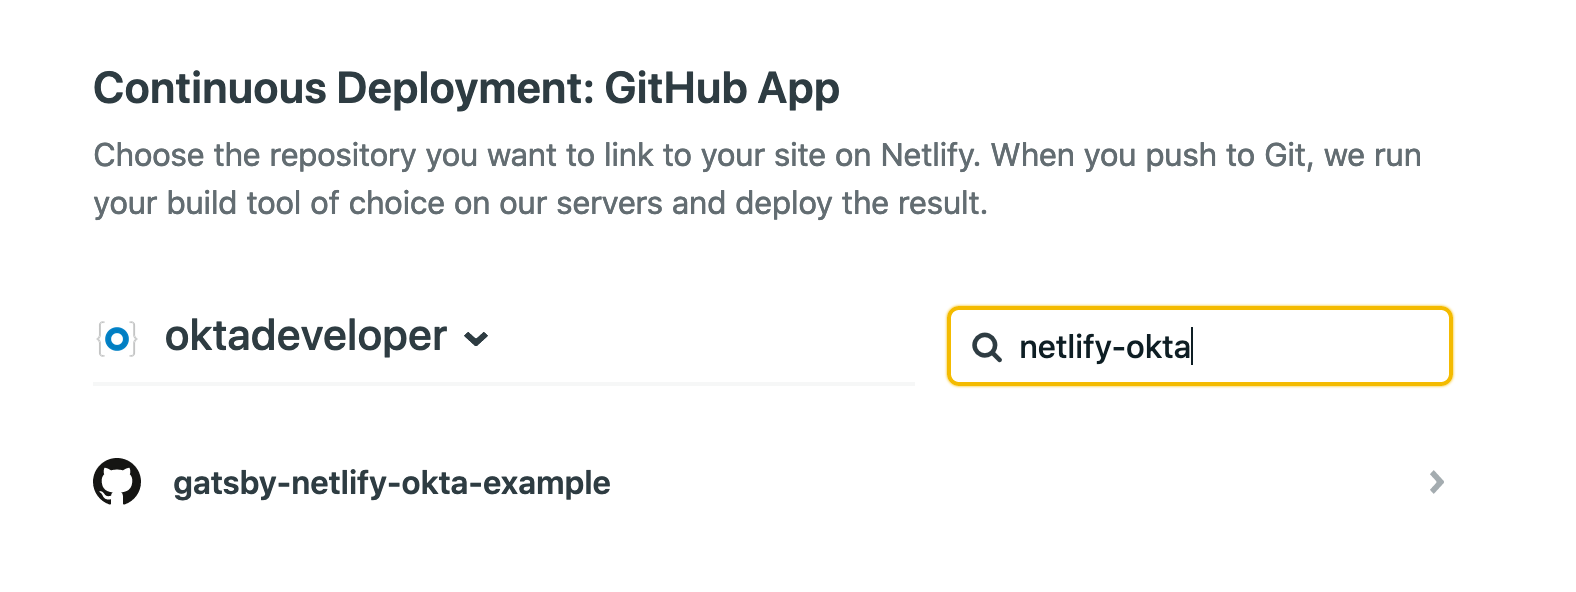
You'll be prompted for a Git hosting provider. Click on GitHub.
Find the repository you deployed to.
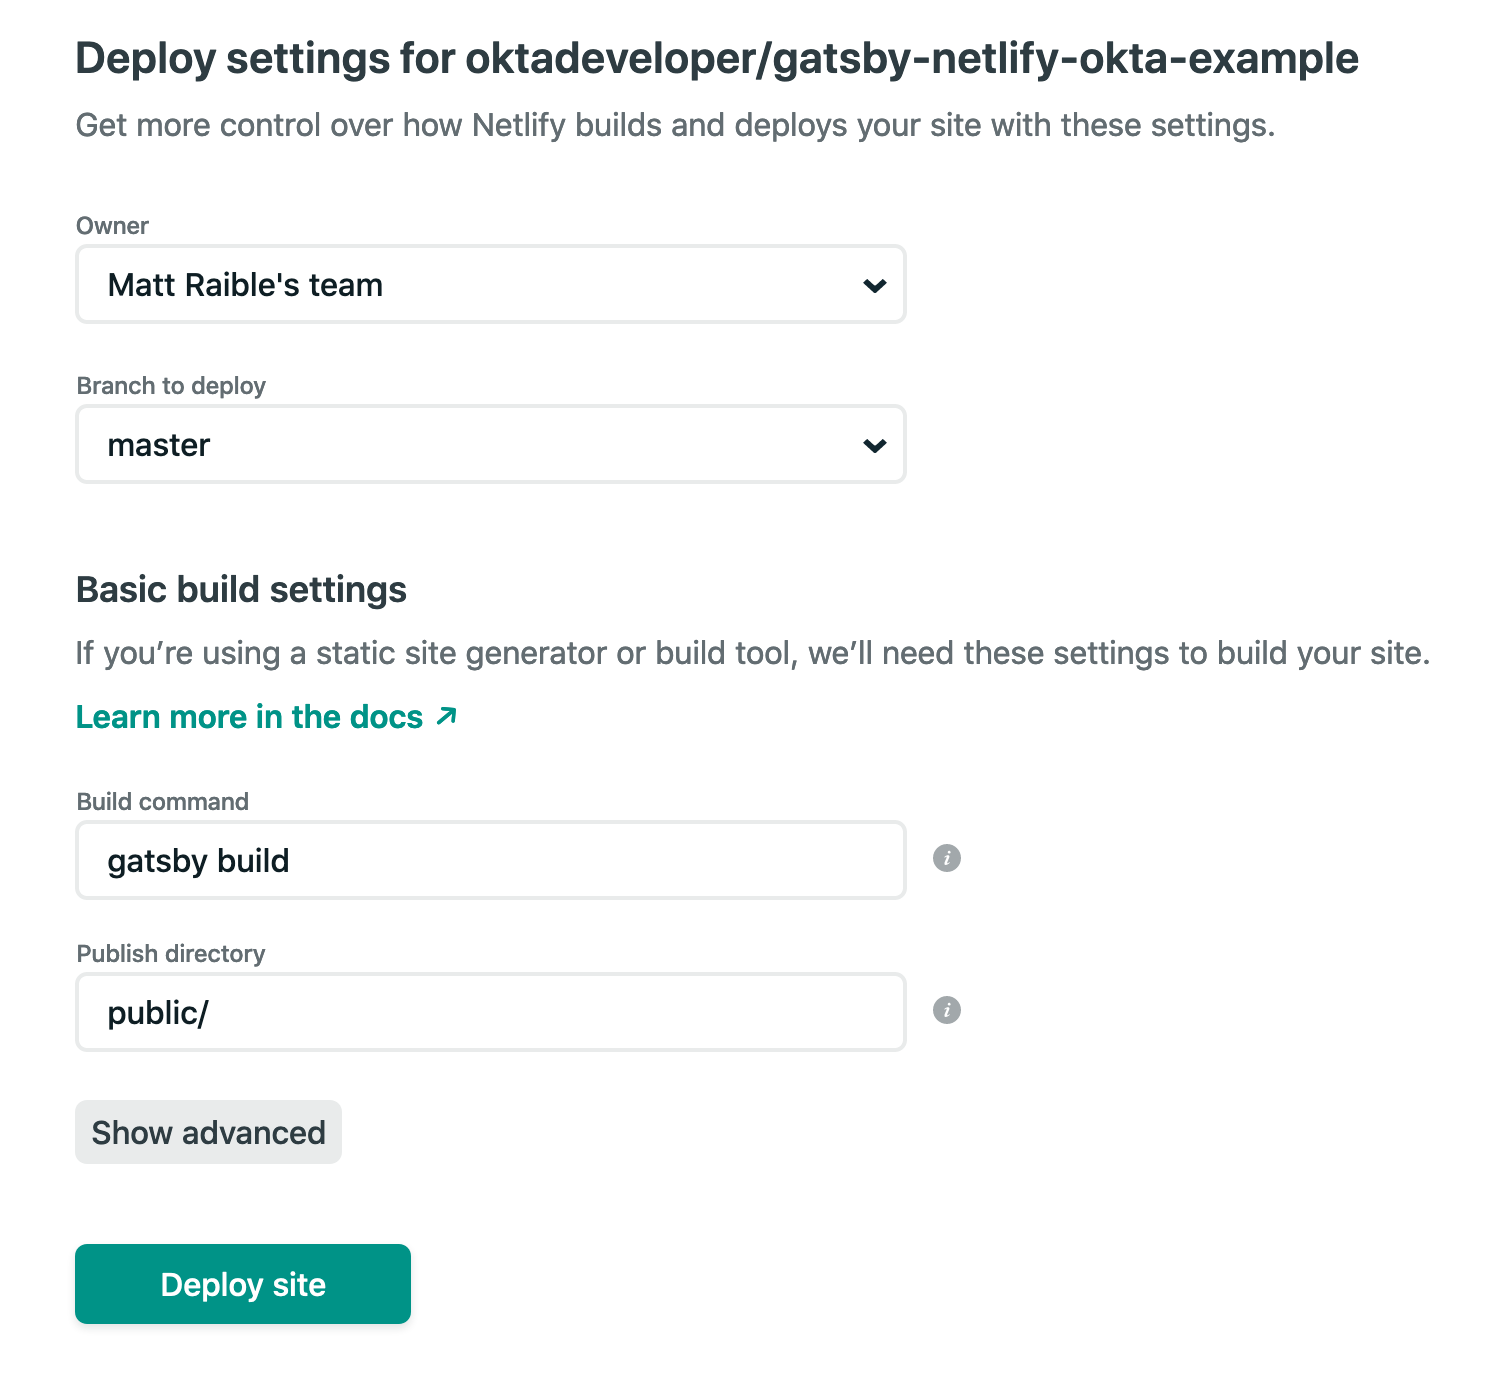
Have all the default deploy settings and click Deploy site.
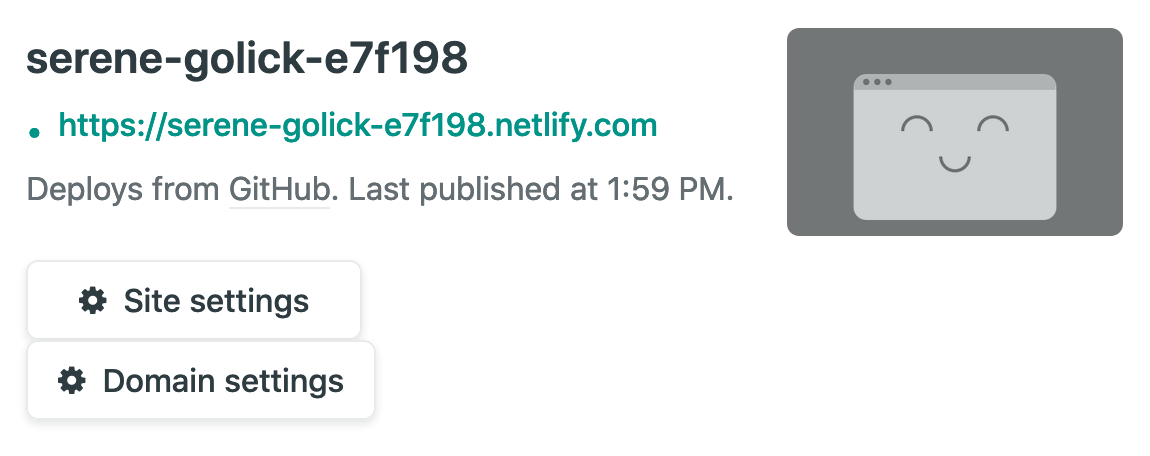
You'll render to your site's dashboard and the build will be in progress.

In a couple of minutes, your site will be live!
If y'all scroll down to the Product deploys section, you can click on the build and see what happened.
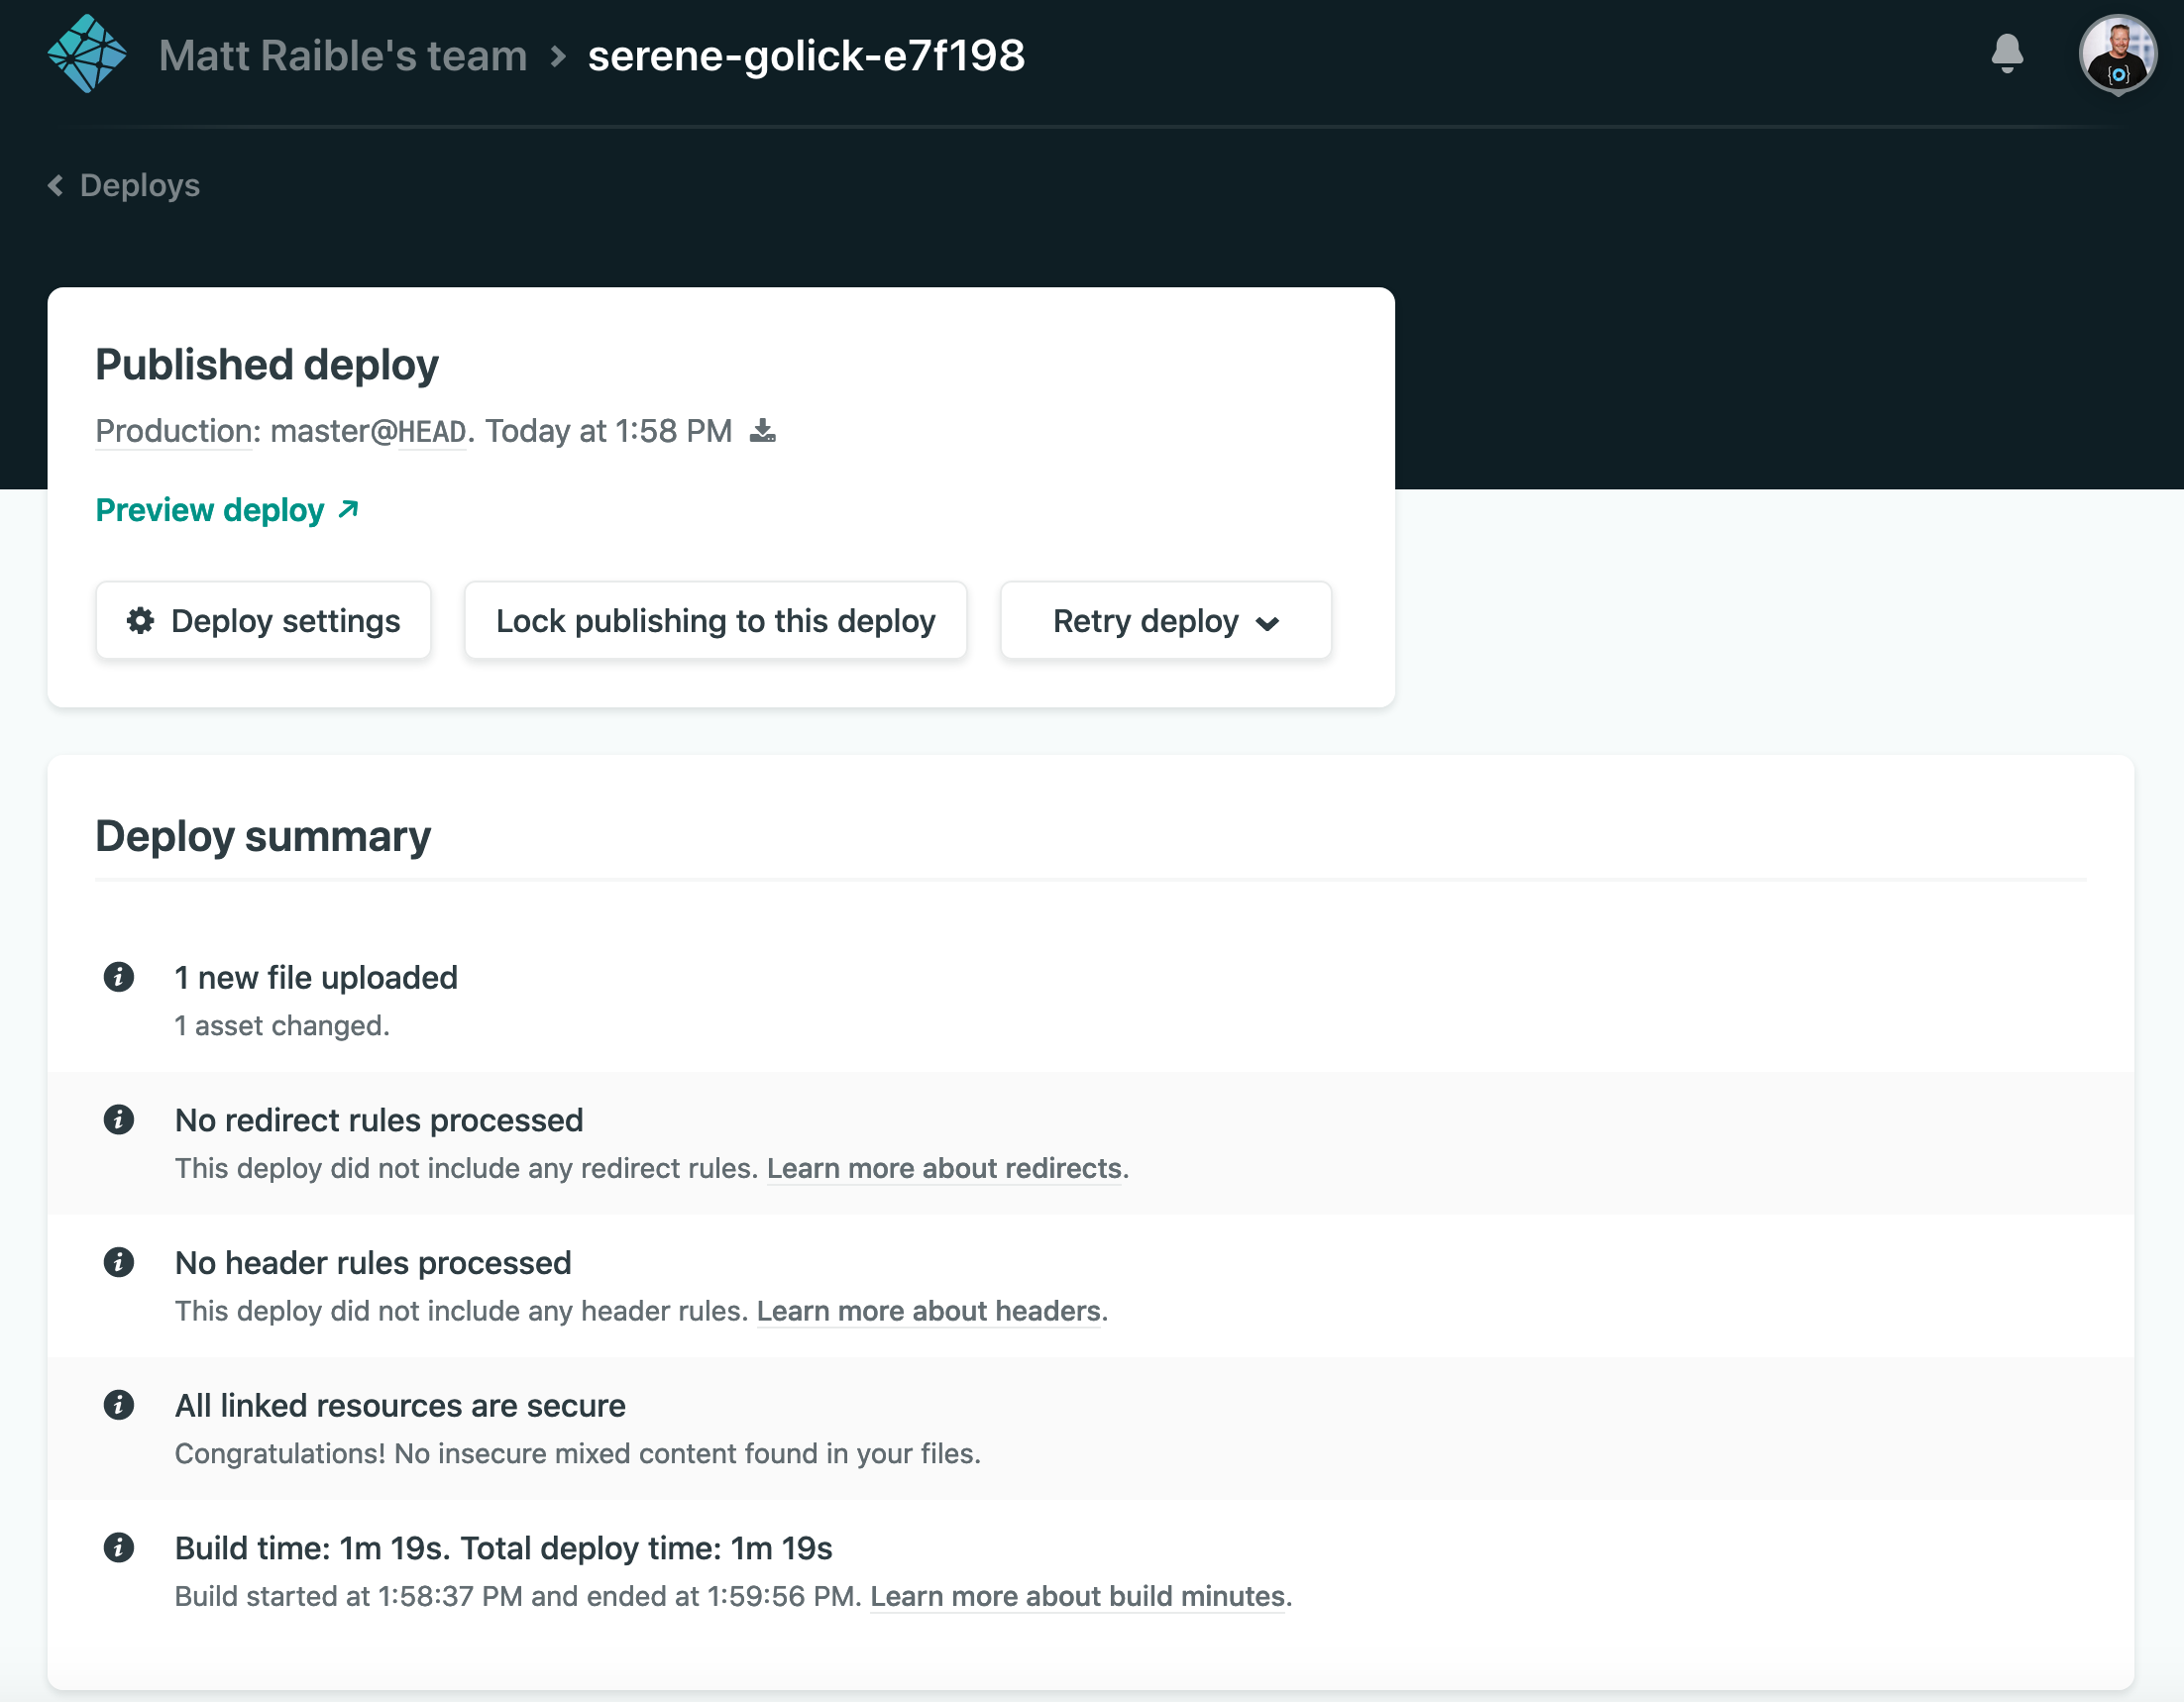
You've congenital a React app, checked it into source control, and published it to production - that's pretty absurd!
Not only that, merely you lot automated the deployment process. Whatever changes yous push to your GitHub repo volition exist automatically deployed by Netlify. ��
Add Your GitHub Repo as a Netlify CMS Backend
Netlify CMS will need to authenticate with GitHub to relieve your content changes to your repo.
Modify static/admin/config.yml to use your GitHub repo:
backend: name: github repo: your-username/your-repo-proper name In my case, I used:
backend: proper name: github repo: oktadeveloper/gatsby-netlify-okta-case Salve config.yml, commit the alter, and push it to your GitHub repo.
git add . git commit -m "Add GitHub Backend" git push button origin main When your changes finish deploying on Netlify (information technology should take around 30 seconds), navigate to your site's /admin/ endpoint. You'll be prompted to log in with GitHub.
Click Login with GitHub and you'll see a page that says "No Auth Provider Plant".
On Netlify, go to Site settings and navigate to Access control > (whorl down) OAuth.
Click Install provider. Information technology volition prompt you for a client ID and secret. To become this, navigate to GitHub Developer settings > OAuth Apps > New OAuth App.
Register a new application with the following settings:
- Application name:
My Gatsby Blog - Homepage URL:
<copy URL from Netlify> - Potency callback URL:
https://api.netlify.com/auth/washed
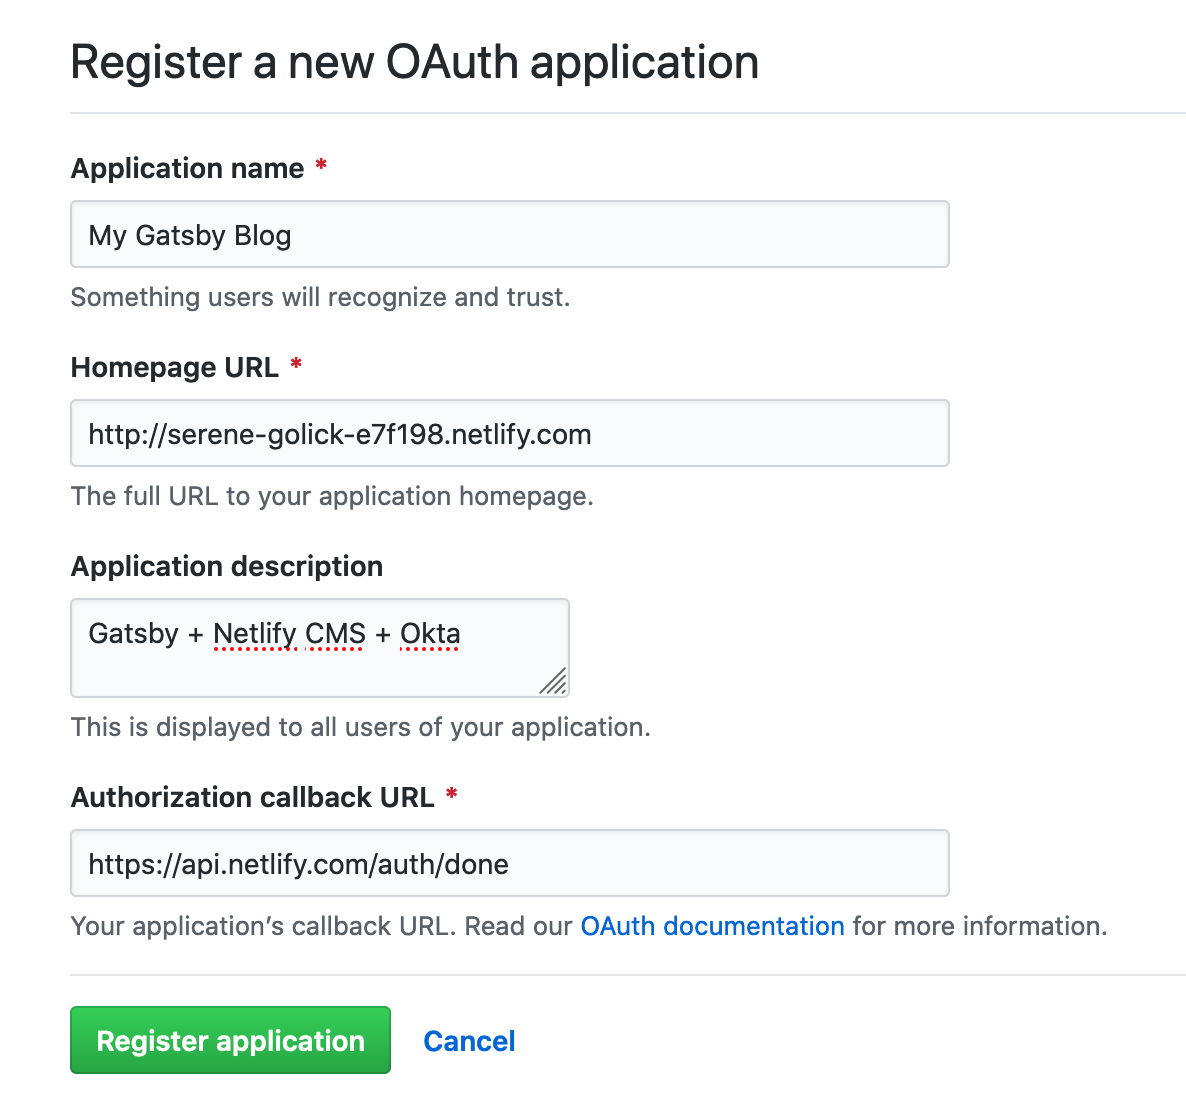
Click Annals application and y'all'll be provided with the client ID and clandestine you were looking for.
Copy and paste these values into your Netlify OAuth provider dialog and click Install.
At present if you lot get to your site's /admin/ endpoint and log in with GitHub, you'll be prompted for potency. Click the dark-green Qualify button at the lesser to continue.
If yous see an error the first time it loads, yous can ignore it. It happens considering no blogs exist. Add a new one and information technology'll go away. For the path, use something similar /blog/showtime-post.
In a terminal window, run git pull origin master and you lot'll see your project is updated with the post you created.
git pull origin principal remote: Enumerating objects: 5, done. remote: Counting objects: 100% (5/v), washed. remote: Compressing objects: 100% (3/three), washed. remote: Total iv (delta 1), reused 0 (delta 0), pack-reused 0 Unpacking objects: 100% (4/4), done. From github.com:oktadeveloper/gatsby-netlify-okta-instance * branch master -> FETCH_HEAD c1b8722..421a113 master -> origin/principal Updating c1b8722..421a113 Fast-forward blog/1st-post.md | vi ++++++ 1 file changed, half-dozen insertions(+) create manner 100644 blog/1st-post.md Run npm start locally to see the blog at http://localhost/admin/. Only how can others (without admin admission) read information technology?
Render Blogs with a New BlogRoll React Component
Create a src/components/BlogRoll.js file. This file will contain a React component that queries for blog posts using GraphQL.
And so add a link to it in src/pages/alphabetize.js:
Restart your Gatsby app using npm start and navigate to http://localhost:8000.
You'll receive an error because your project doesn't have Markdown support.
Add Markdown Support to Gatsby
Gatsby's Add Markdown Pages docs evidence the procedure that it uses to create pages from Markdown files:
- Read files into Gatsby from the filesystem
- Transform Markdown to HTML and frontmatter to information
- Add a Markdown file
- Create a page component for the Markdown files
- Create static pages using Gatsby's Node.js
createPage()API
Install a couple of Gatsby plugins to make this happen.
npm i gatsby-source-filesystem gatsby-transformer-remark So configure them in gatsby-config.js:
Restart everything and you'll exist able to encounter your blog posts at /blog.
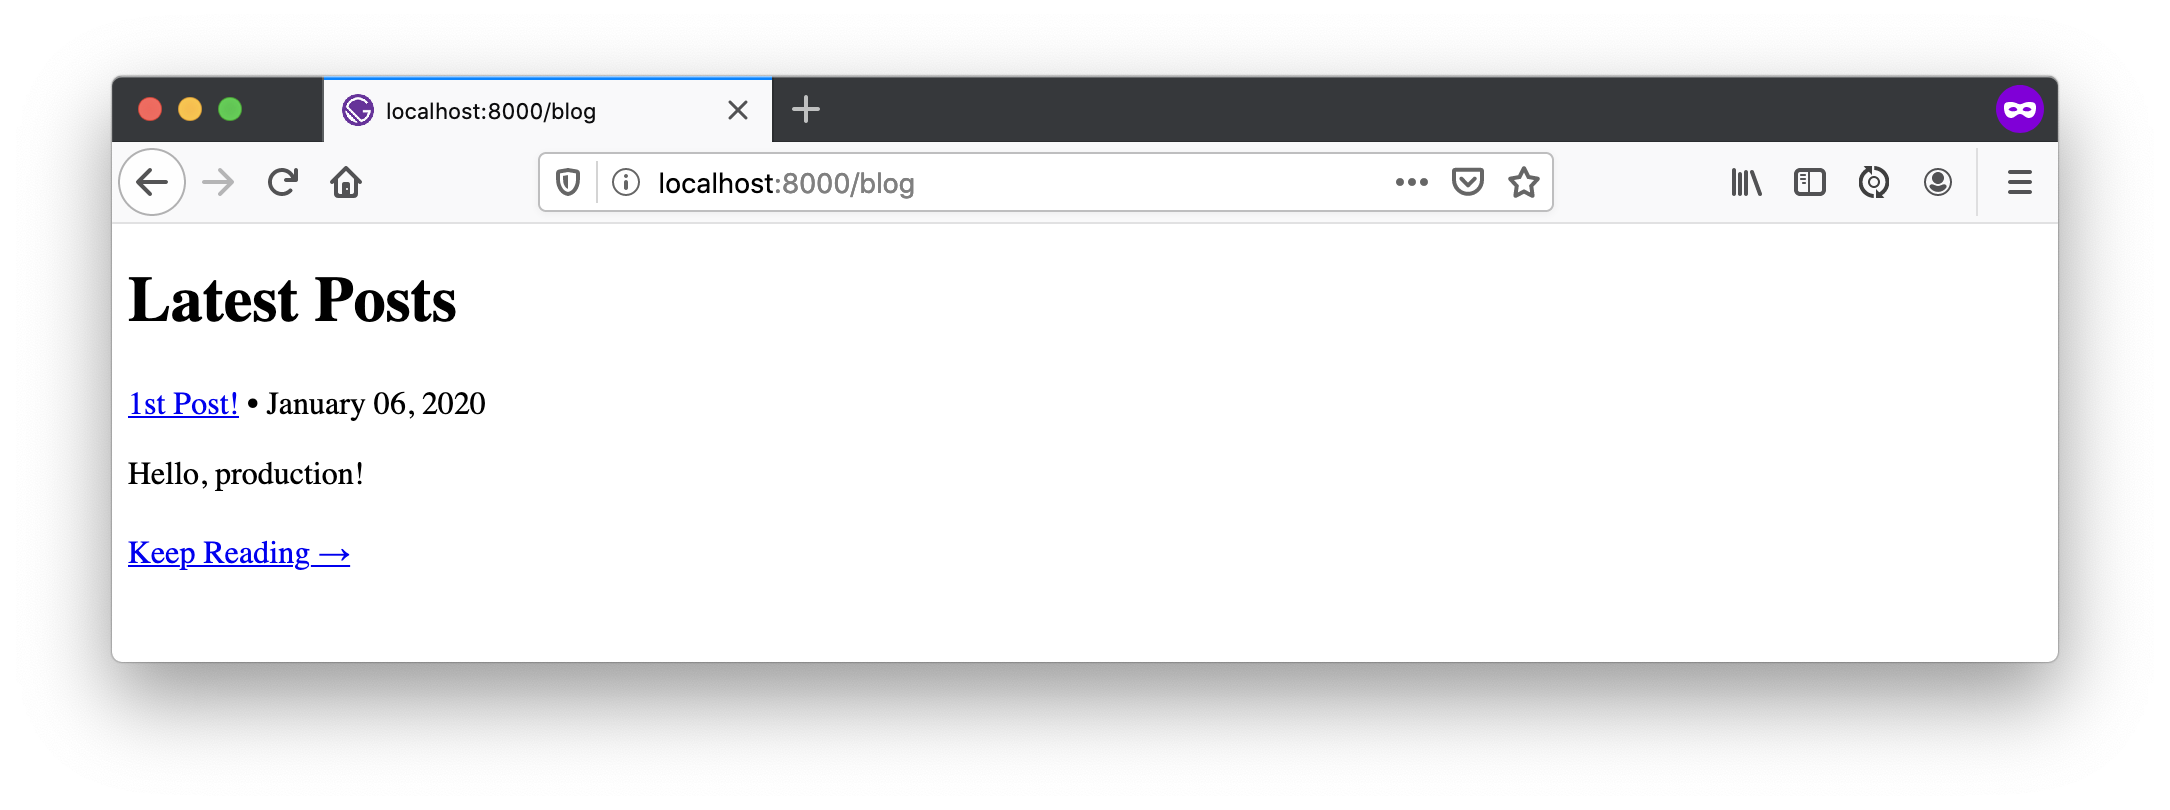
Withal, if y'all effort to navigate into a blog, it doesn't work because you didn't tell Gatsby to generate pages for each one.
Utilize Gatsby'southward Node API to Generate Static Blog Pages
Create a gatsby-node.js in the root directory of your project and add code to create a static page for each weblog.
You lot might notice this JavaScript code uses a template at src/templates/web log.js. Create this file with the post-obit code in information technology.
Restart your app to see Markdown rendering properly!
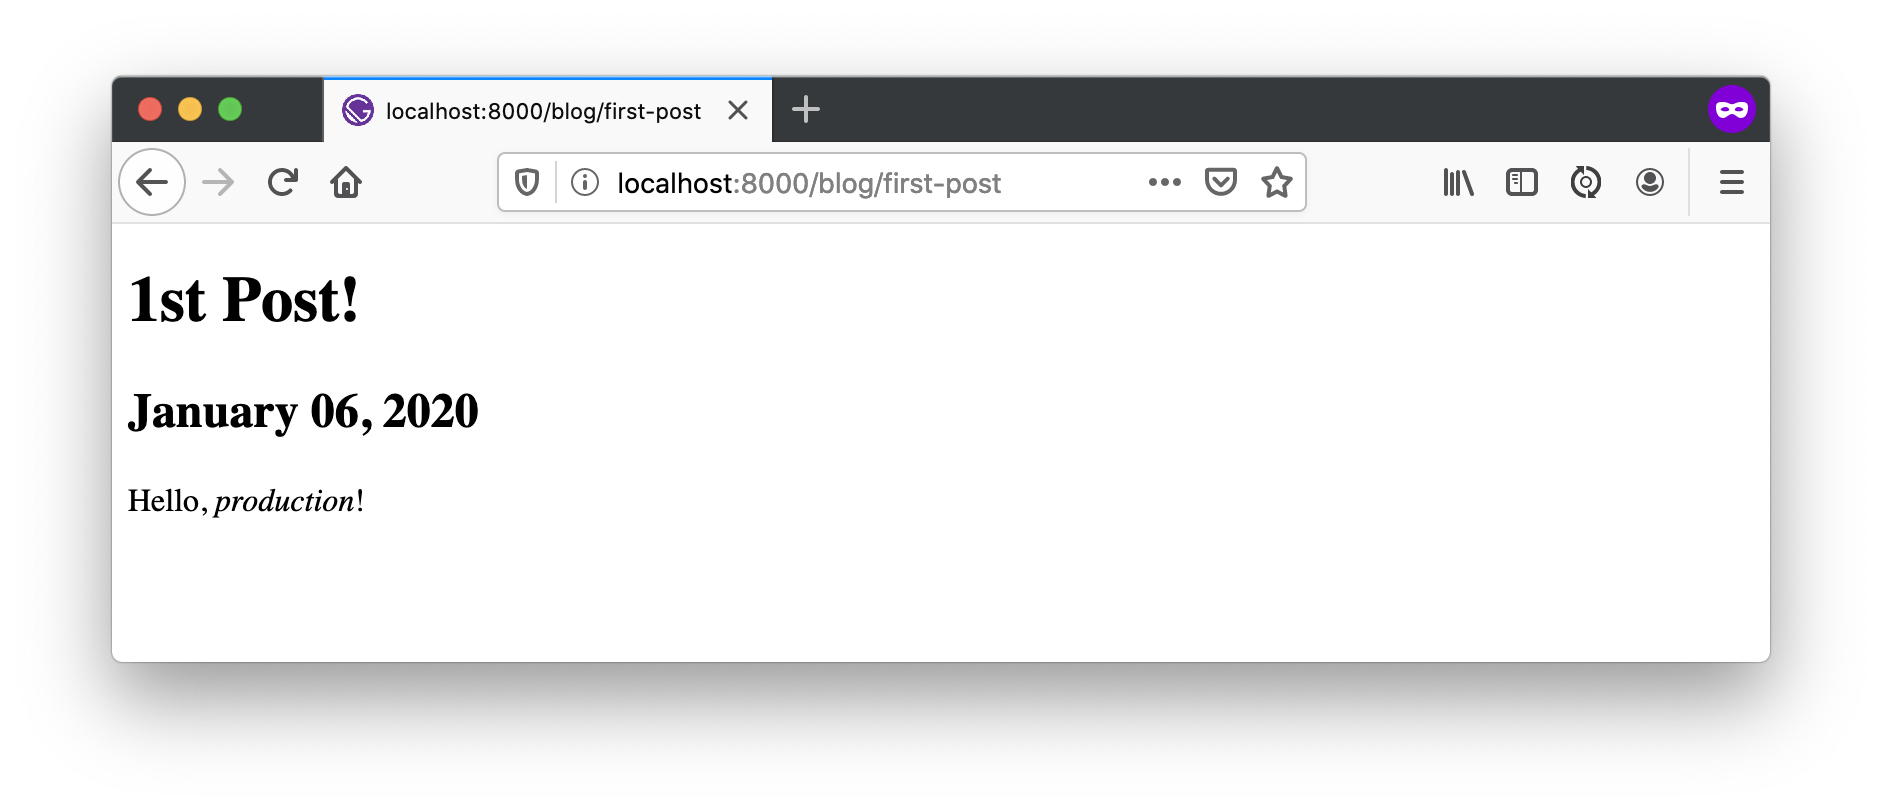
Commit your changes and verify everything works in product.
git add . git commit -m "Add /web log and Markdown back up" git push origin master Add an Account Section
Add an Account department for your site past creating a file at src/pages/account.js.
Add together a link to the account page in src/pages/index.js:
Since this department will take dynamic content that shouldn't be rendered statically, you need to exclude it from the build. Add the post-obit JavaScript to the bottom of gatsby-node.js to signal that /account is a customer-only route.
Restart with npm commencement and you should exist able to navigate to this new section.
Register Your App with Okta
To begin with Okta, you'll need to register your app, merely like you did with GitHub. Log in to your Okta developer account and navigate to Applications > Add together Application.
- Cull Single-Folio App and Adjacent
- Enter a proper name like
Gatsby Account - Specify the post-obit Login redirect URIs:
-
http://localhost:8000/account -
http://localhost:9000/business relationship -
https://<your-site>.netlify.com/business relationship
-
- Specify the following Logout redirect URIs:
-
http://localhost:8000 -
http://localhost:9000 -
https://<your-site>.netlify.com
-
- Click Washed
Your Okta application settings should resemble the screenshot below.

Add together Trusted Origins for Your Gatsby Sites
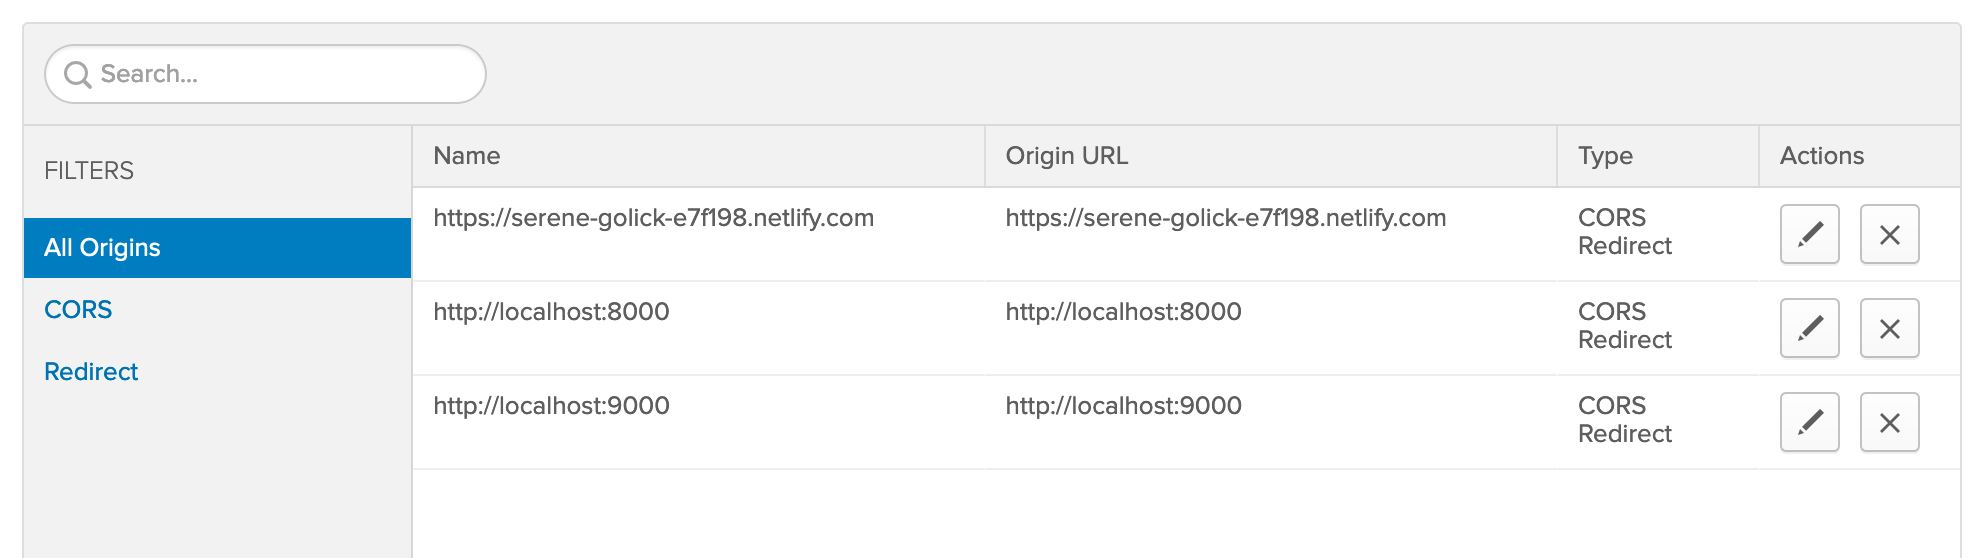
Gatsby can run on two different ports (8000 and 9000) locally. One is for evolution and 1 is for production (invoked with gatsby build and gatsby serve). You too have your product Netlify site. Add together all of these as Trusted Origins in API > Trusted Origins.
Click Add Origin, select CORS and Redirect for Type, and add each of the following:
-
http://localhost:8000 -
http://localhost:9000 -
https://<your-site>.netlify.com
When y'all're finished, your screen should resemble the following.
Protect Your Gatsby Account Section with Okta
Install Okta's Sign-In Widget:
npm i @okta/okta-signin-widget@3.7.two Create a Login component in src/components/Login.js:
Replace the placeholders about the superlative of this file with your Okta app settings.
For example:
Modify src/pages/account.js to include an Account component that uses Login to get ID tokens and logout.
Restart your app with npm start, open http://localhost:8000 in a private window, and click on My Business relationship. You'll exist prompted to log in.
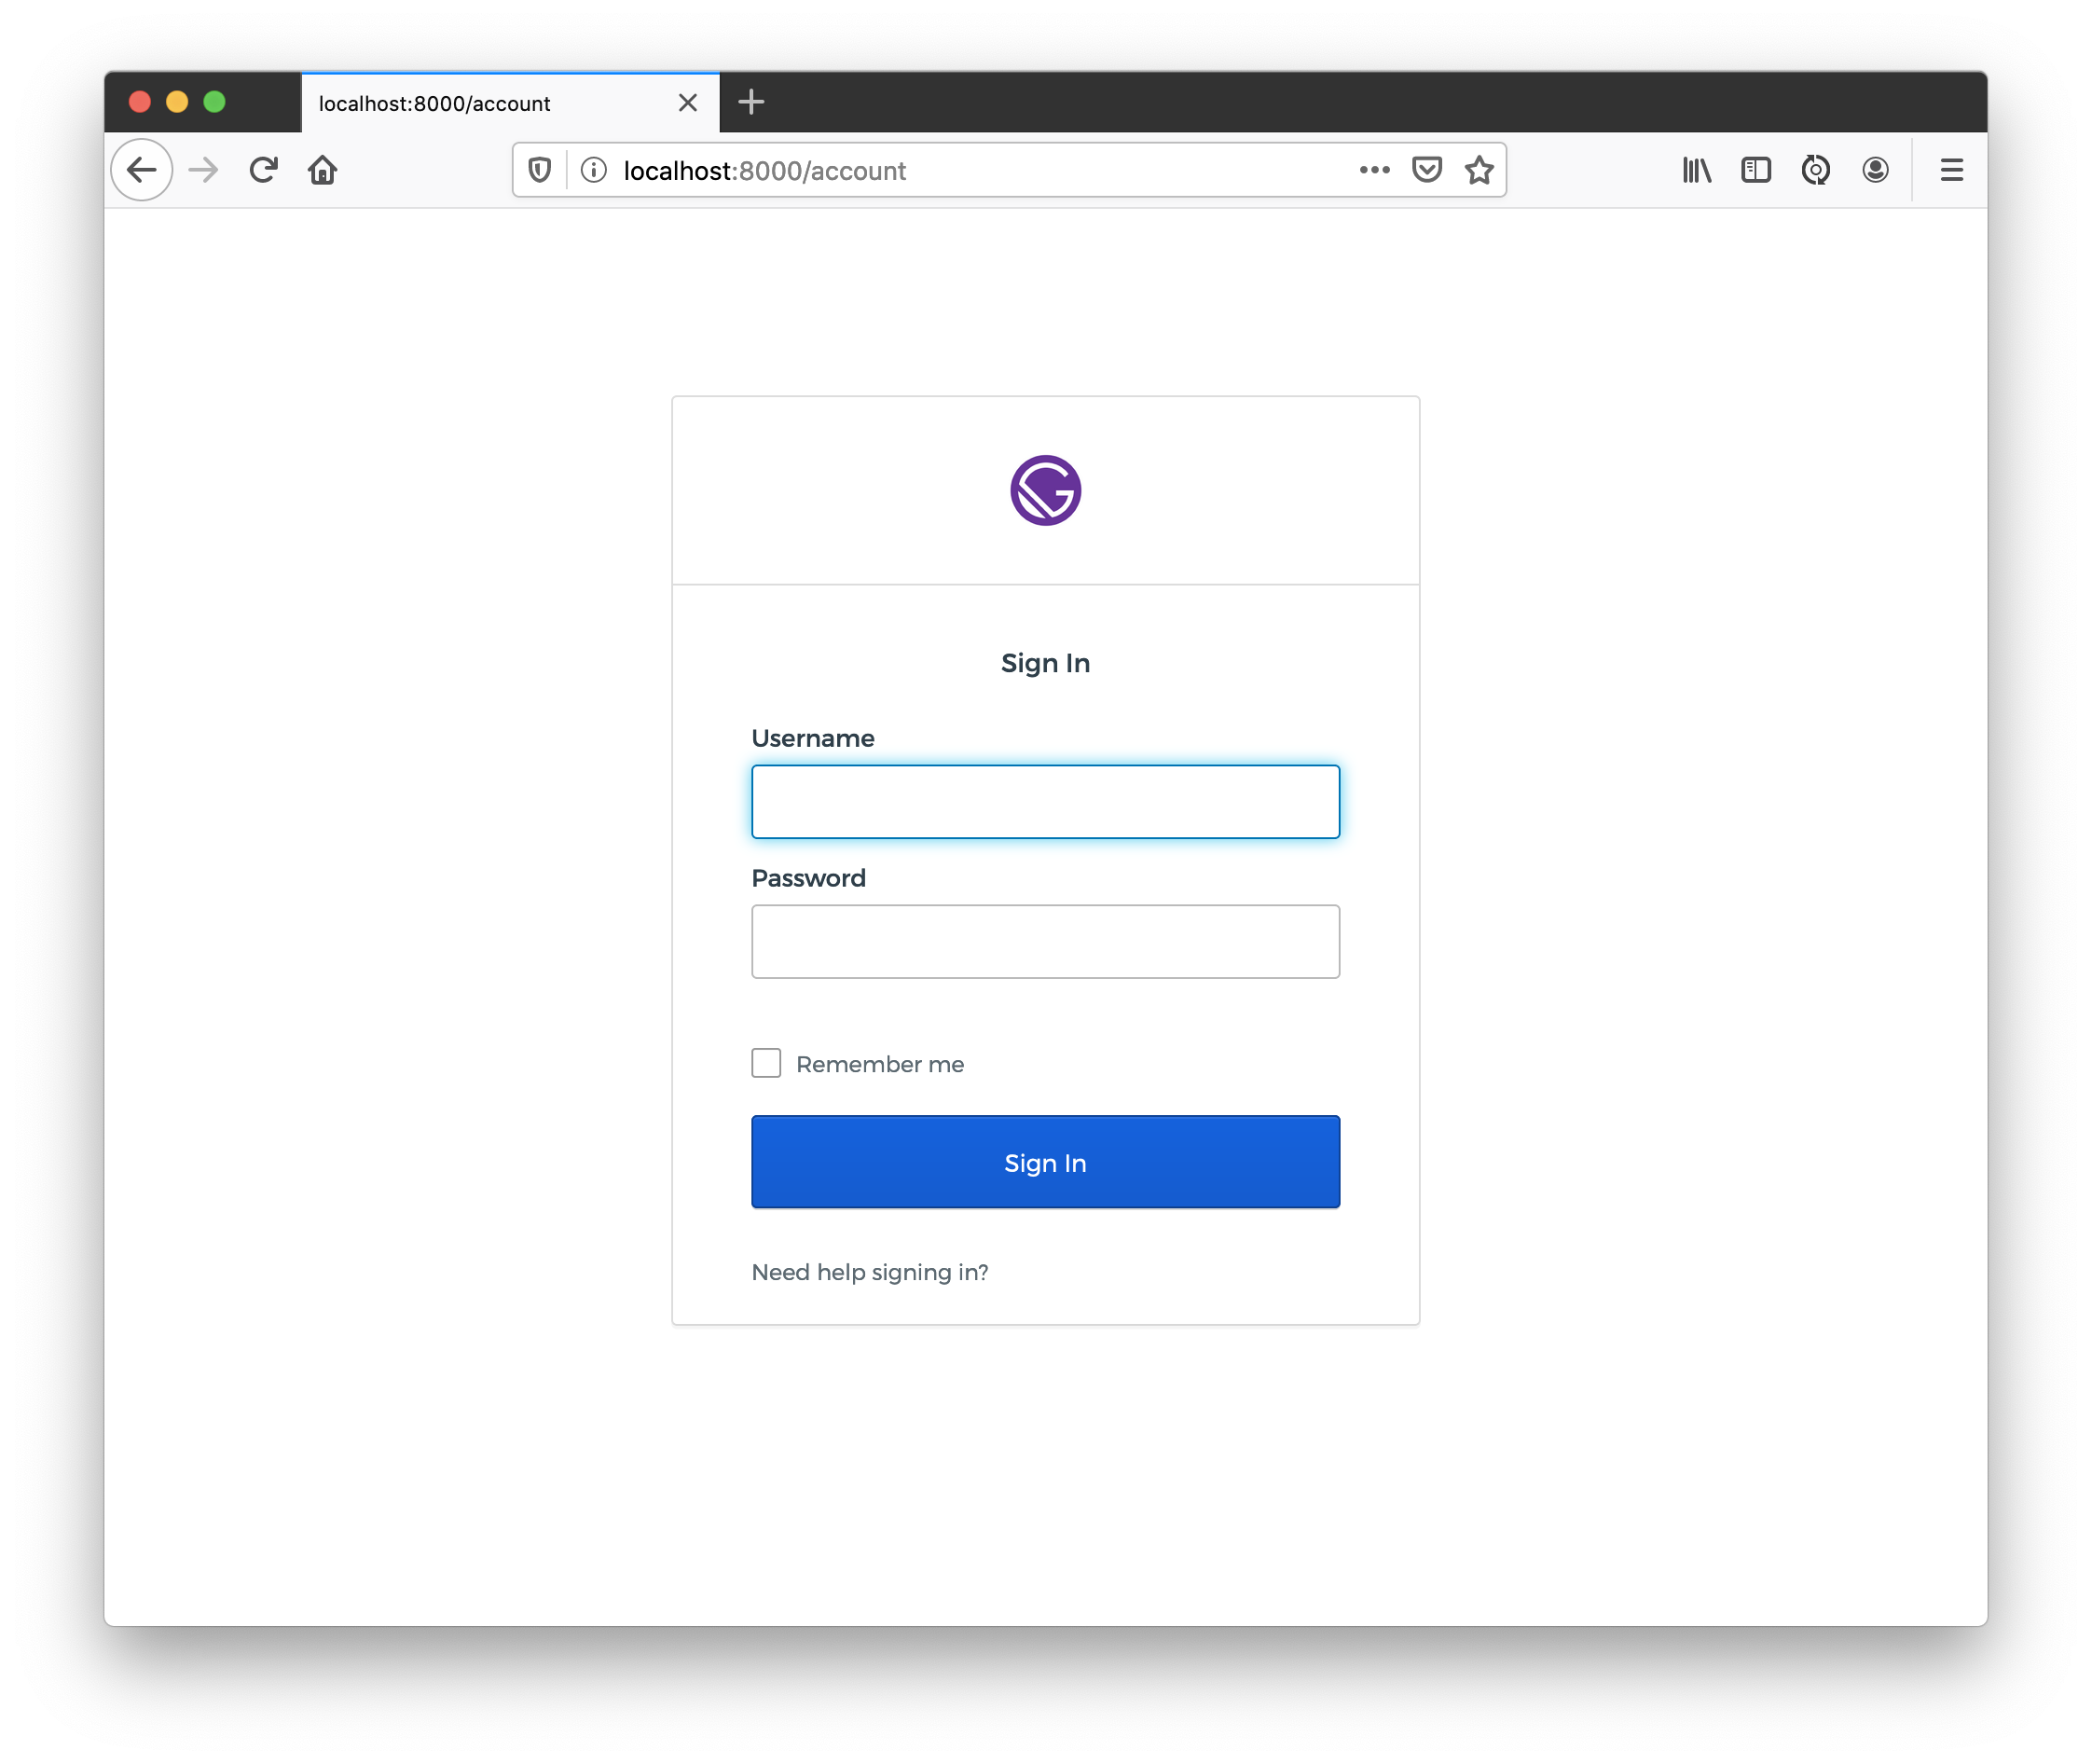
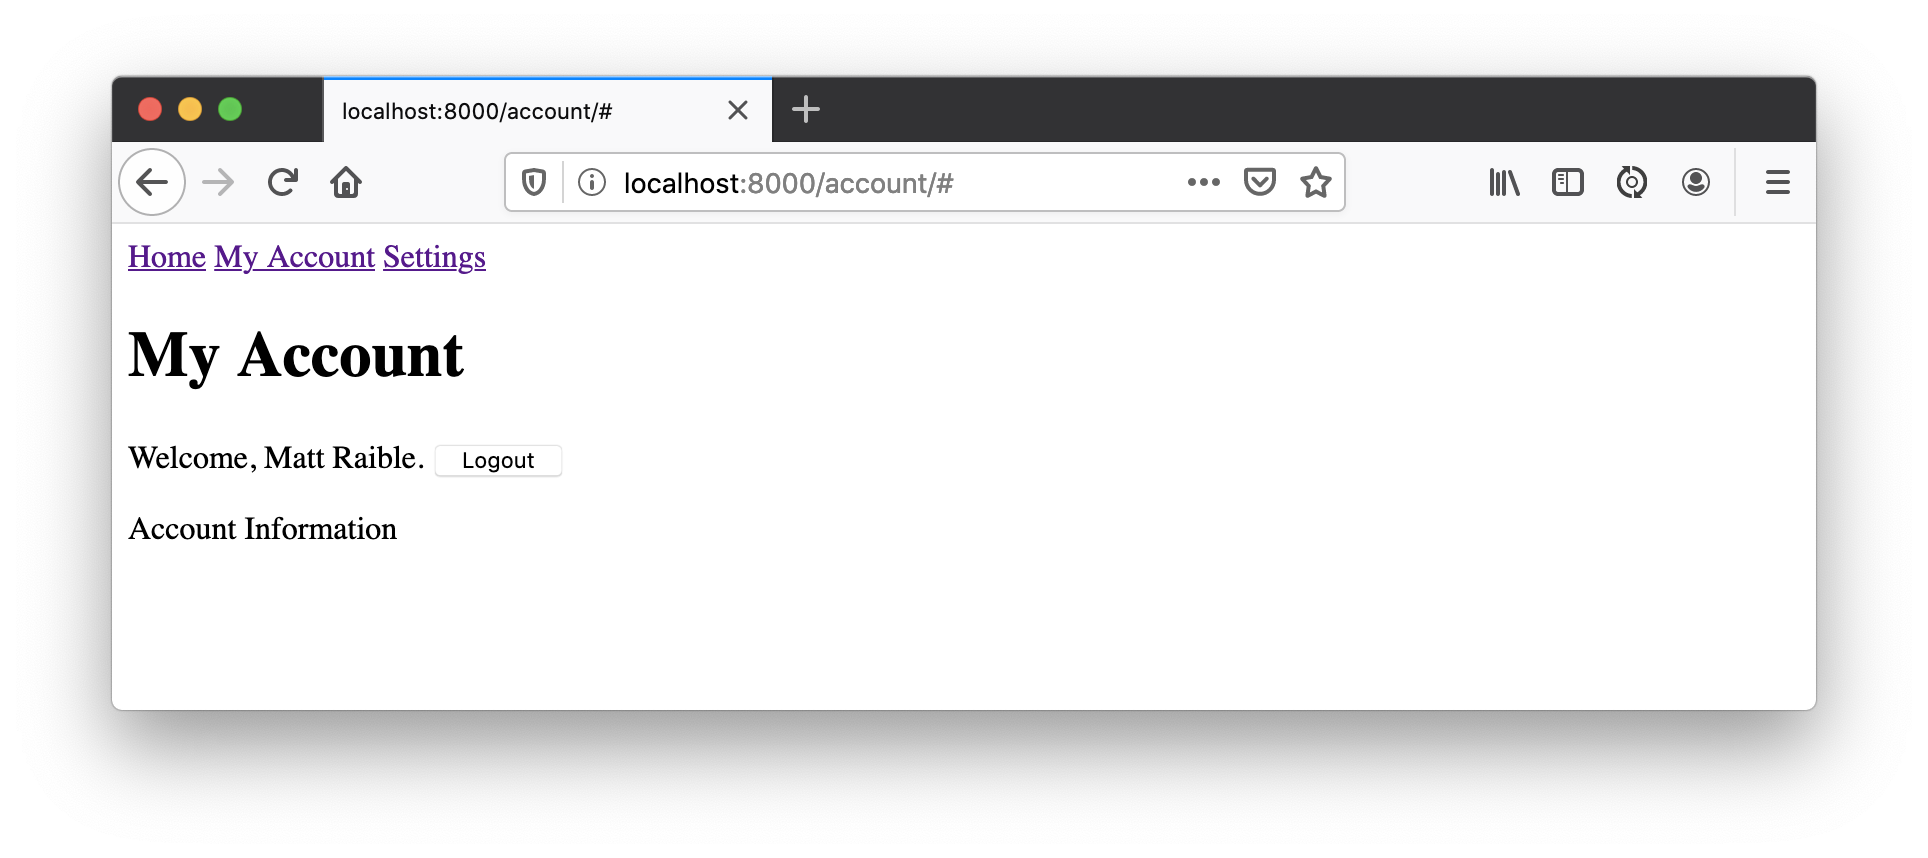
Enter your credentials and click Sign In to browse the account section. You should also see your proper name and exist able to logout.
Fix Gatsby Production Build
To test building your app for product, run gatsby build. Yous'll get an fault considering Okta'south Sign-In Widget doesn't wait to be compiled for server-side rendering.
To gear up this, yous can exclude it from the compilation process. Modify the webpack build to exclude it from compilation by configuring webpack. Add the JavaScript below to the lesser of gatsby-node.js.
Endeavour gatsby build again and it should piece of work this time. Run gatsby serve to see if the production build works on http://localhost:9000. Rejoice when it does!
Add User Registration
To give people the ability to sign-up for accounts, go to your Okta dashboard > Users > Registration, and enable it.
Modify src/components/Login.js to add Okta's user registration feature.
So build for production and serve it up again.
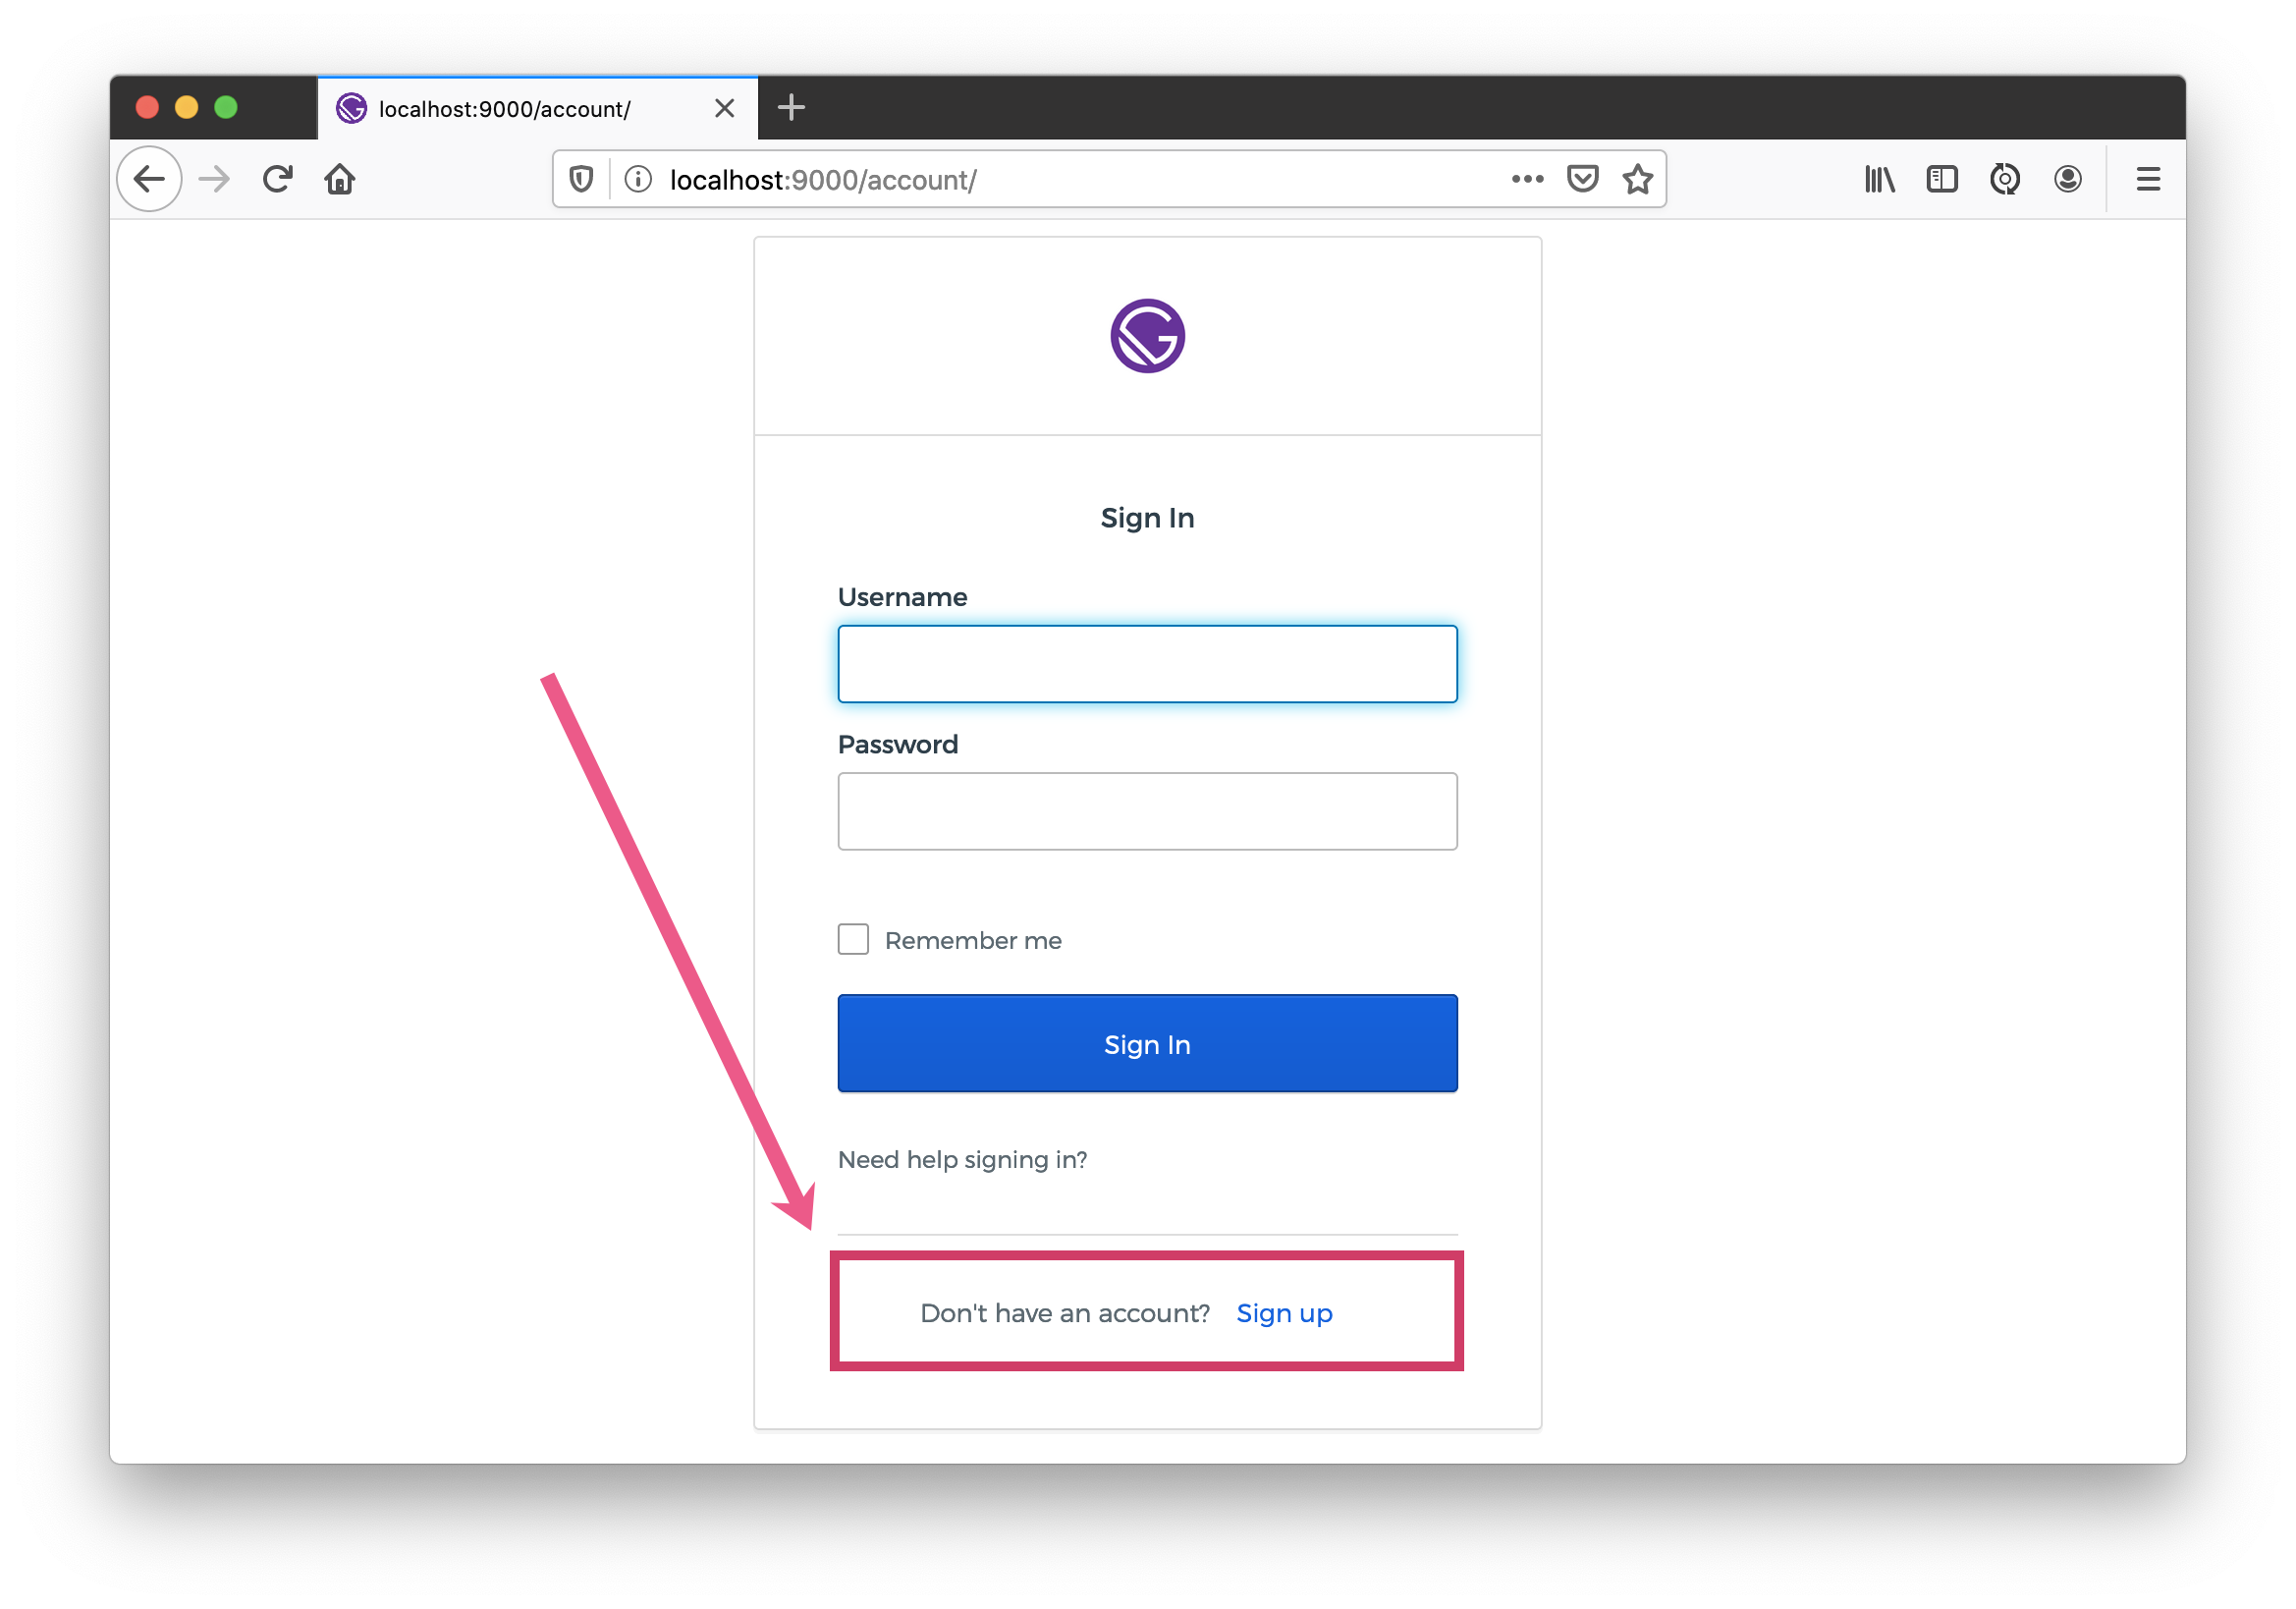
gatsby build gatsby serve You volition now see a Sign Upwards link at the bottom of the login form.
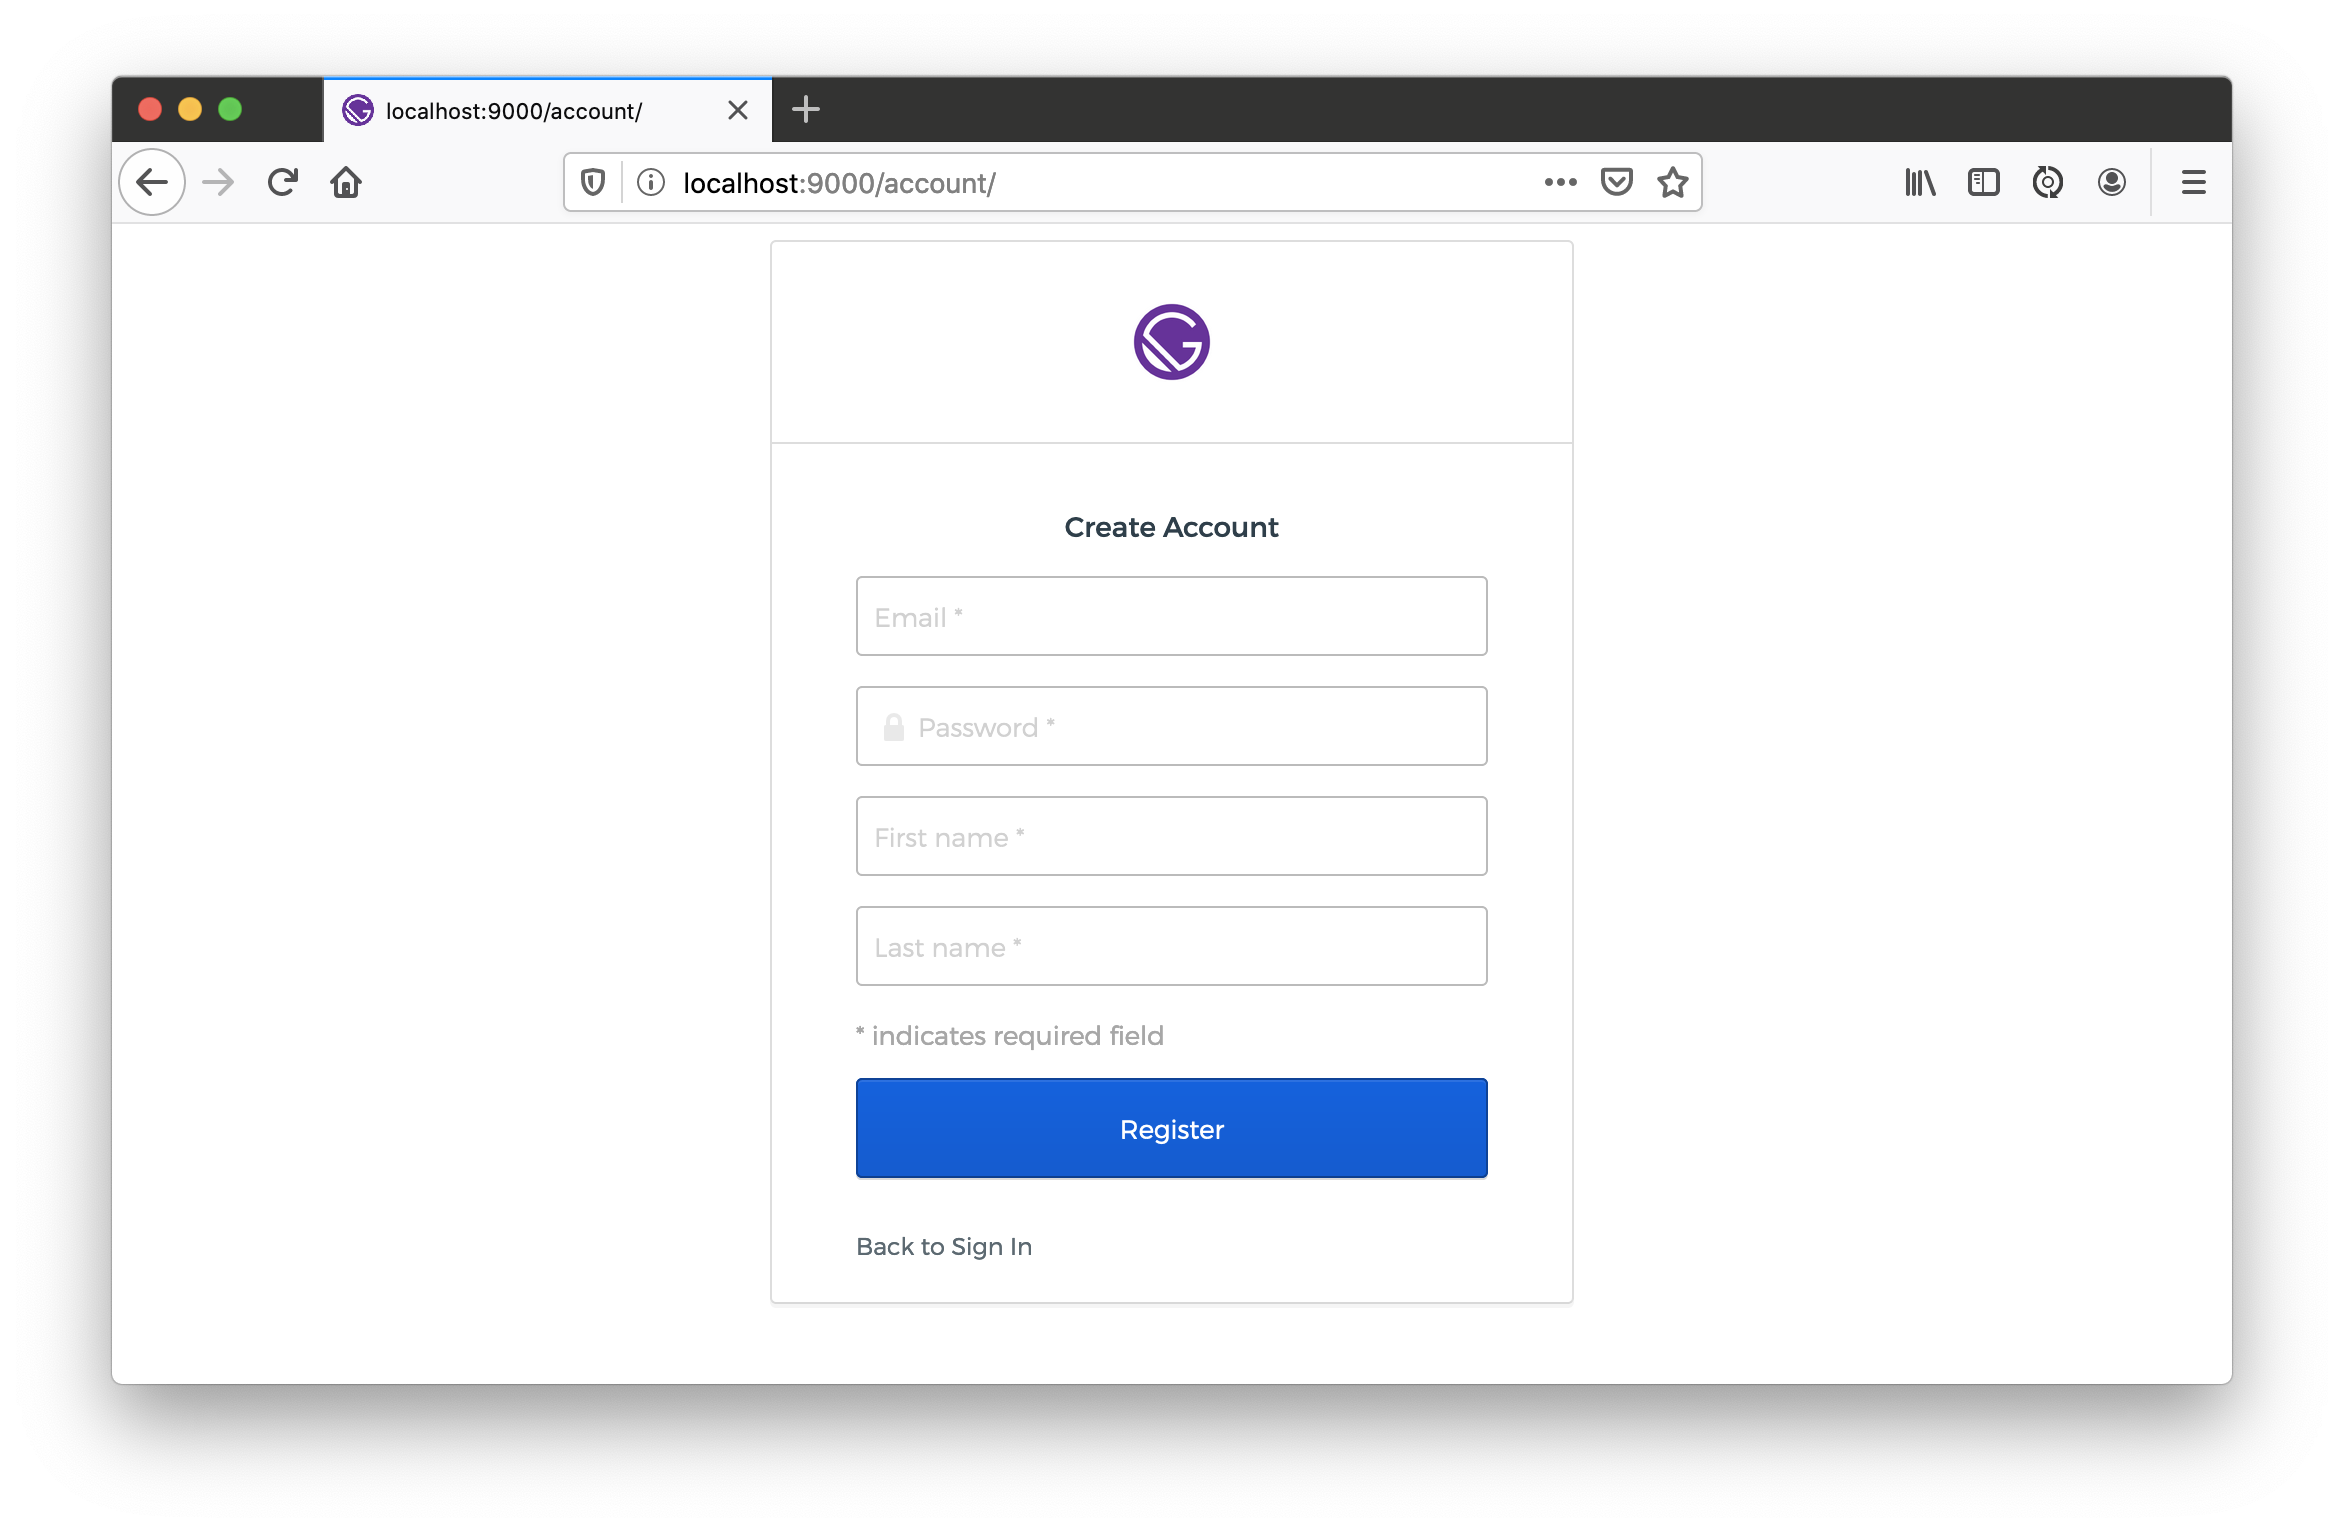
Click the link to see the user registration form.
Hooray - yous did it! Check-in your lawmaking and rejoice in your new-found cognition. ��
Extend Your Gatsby Account Functionality
Armed with Okta for authentication, y'all could develop features in the account settings of your application. For case, a setting where people can sign up for a newsletter (e.1000., with TinyLetter). You could store this setting in Okta past creating a Node app that uses the Okta Node SDK to update user attributes.
In fact, you might even develop a Coffee or .NET backend to handle this and communicate to it from your Gatsby application using fetch() and an OAuth 2.0 admission token retrieved from the Sign-In Widget.
async componentDidMount() { effort { const response = await fetch('http://<node-server-url>/user/settings', { headers: { Say-so: 'Bearer ' + await signIn.authClient.tokenManager.get('accessToken') } }); const information = await response.json(); this.setState({ settings: data.settings }); } catch (err) { // handle error as needed panel.error(err); } } Learn More nearly Netlify, Gatsby, React, and Authentication
Phew! This tutorial packed a punch! ����
You learned how to build a new site with Gatsby, automate its deployment with Netlify, integrate Gatsby with Netlify CMS, process Markdown files, store your files in Git, and use Okta for authentication. Okta leverages OAuth two.0 and OpenID Connect for its developer APIs. They're awesome!
You can find the source code for this example on GitHub in the oktadeveloper/gatsby-netlify-okta-example repository.
If you want to make your Gatsby site even more secure, you tin apply the Gatsby Netlify plugin as it adds a bunch of basic security headers. After installing, configuring, and deploying, you can exam your site'due south security with securityheaders.com.
I learned a bunch most Gatsby and hallmark from Jason Lengstorf and Aaron Parecki in their Add hallmark to your apps with Okta video.
Gatsby'due south documentation was extremely helpful in writing this mail service, as was the Gatsby + Netlify CMS Starter.
To see how the Okta Sign-In Widget can be customized, check out developer.okta.com/live-widget.
To learn more about Netlify, React, OAuth 2.0, and OIDC, I recommend some of our other blog posts:
- How to Configure Better Web Site Security with Cloudflare and Netlify
- Simple User Authentication in React
- Build a Basic Crud App with Node and React
- Create a React Native App with Login in 10 Minutes
- An Illustrated Guide to OAuth and OpenID Connect
If you lot liked this tutorial, delight follow @oktadev on Twitter. Nosotros also like to practice screencasts and post them to our YouTube aqueduct. If you take any questions, I'd be happy to answer them in the comments below.
Opinions expressed by DZone contributors are their own.
Source: https://dzone.com/articles/create-a-secure-blog-with-gatsby-react-and-netlify
Postar um comentário for "Netlify Webpackerror: Typeerror: Cannot Read Property 'node' of Undefined"